
Jacob's Bedroom Refresh: Part 1.
If you’ve been following me on Instagram and in stories, you’ll know that one of my big projects this summer has been to give Jacob’s bedroom a little refresh.
When we first moved into out home five years ago, Jacob was 18 months old and still in a crib.

Over the next year, we added some millwork to his room that really cozied up the space and then I began my hunt for wallpaper for an accent wall behind his crib. I remember wanting something that was fun (and featured animals in some way) but was still neutral and I almost gave up until one day accidentally stumbling upon this Jungle Animals Wallpaper from Simple Shapes. I immediately fell in love with the pattern and since I hadn’t installed any wallpaper before, the peel-and-stick was an attractive option. Install turned out to be easy (and fun!) and my love for wallpaper only spiraled from there:

Back to Jacob’s room, we eventually replaced the crib with a bed and moved things around but the wallpaper always stayed and he loved it! A few months ago, I asked him if he wanted to give his room a refresh with some new wallpaper (maybe a different pattern, different color scheme or even paint it a color) and he told me no, he really loves his wallpaper and honestly just would like for it to be on all four walls. So that’s what we did!

The kind folks at Simple Shapes were generous enough to gift me a few more rolls of the wallpaper to wrap around the room and I wanted to show you guys just how easy it was to install!
First, the tools you’ll need to install any peel-and-stick paper: A tape measure, a level ruler (not pictured here), a pair of scissors for cutting the paper to the correct length or width, a smoother to remove any air bubbles during install, and a sharp blade to trim off any excess.

I’ve linked the exact tools that I use HERE.
The first step to installing wallpaper is to use your level ruler to draw a plumb (straight) line down your wall. This is the line that you’ll be lining your wallpaper up against so it needs to be straight. Never assume your walls or ceiling are level (they aren’t). If you try to use a corner or the top of your wall to line up your paper, it will end up crooked. I skipped this step today because the accent wall was already up, so I simply lined the next panel of wallpaper up with the last panel that was on the wall.
Start at the top and peel off just a portion of the backing so the paper is more manageable. Line your panel up with the one that’s on the wall, overlapping the two panels slightly. Then slowly press the paper onto the wall using the smoother. Do a short section at a time, working your wall down and peeling off the backing as you go.

Once the wallpaper is firmly pressed to the wall, use the smoother to smooth out any air bubbles, pressing them out from the center of the paper to the sides. If you have a really stubborn air bubble, you can use your blade to make a small slit in the paper and press the air out there. Then, simply use your blade to trim the excess wallpaper at both the top and bottom of the wall. (NOTE: you always want to leave yourself 2-3’’ on both ends of the wallpaper if possible so always round up when measuring). Then simply continue with the next panel and then the next in the same way until your rom is complete!
Yesterday, I shared a reel on IG showing how I installed this wallpaper, which you can watch HERE.
See below for a few shots of the finished room!
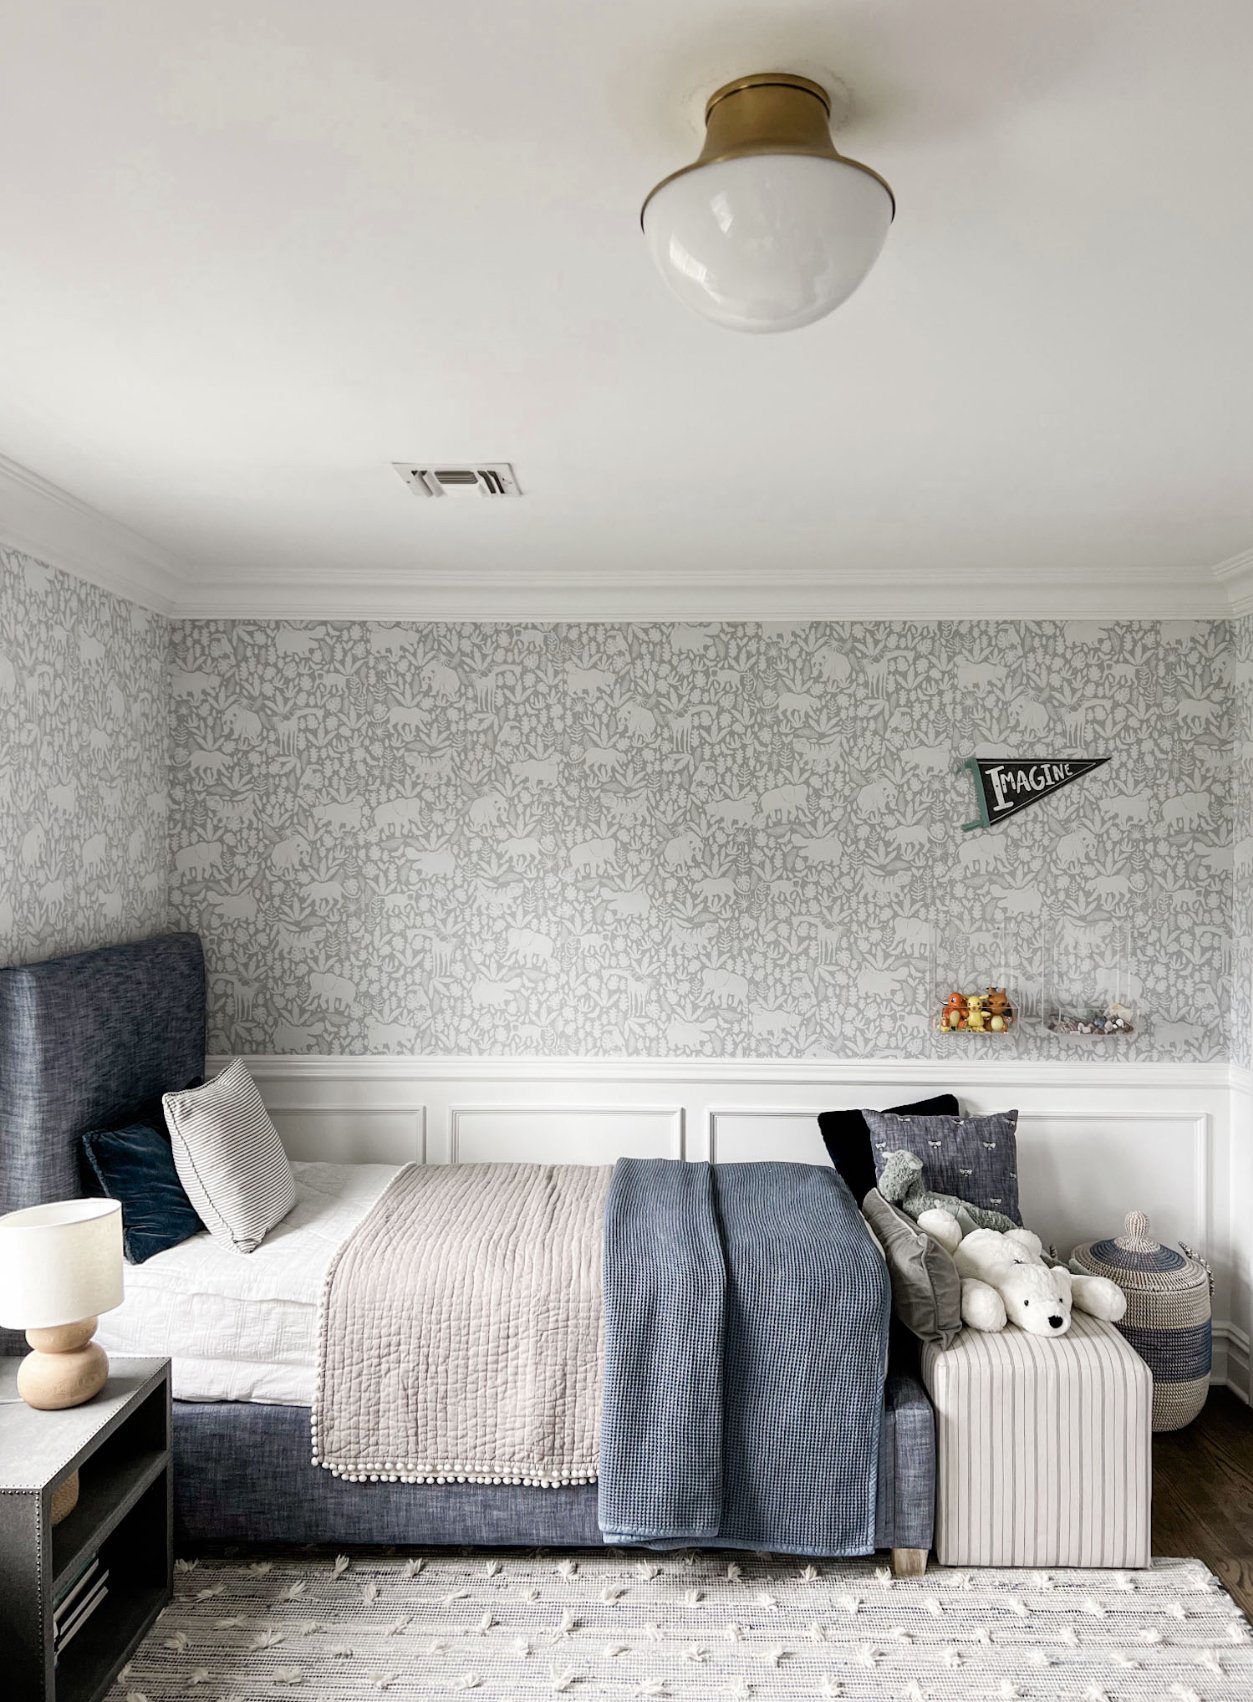
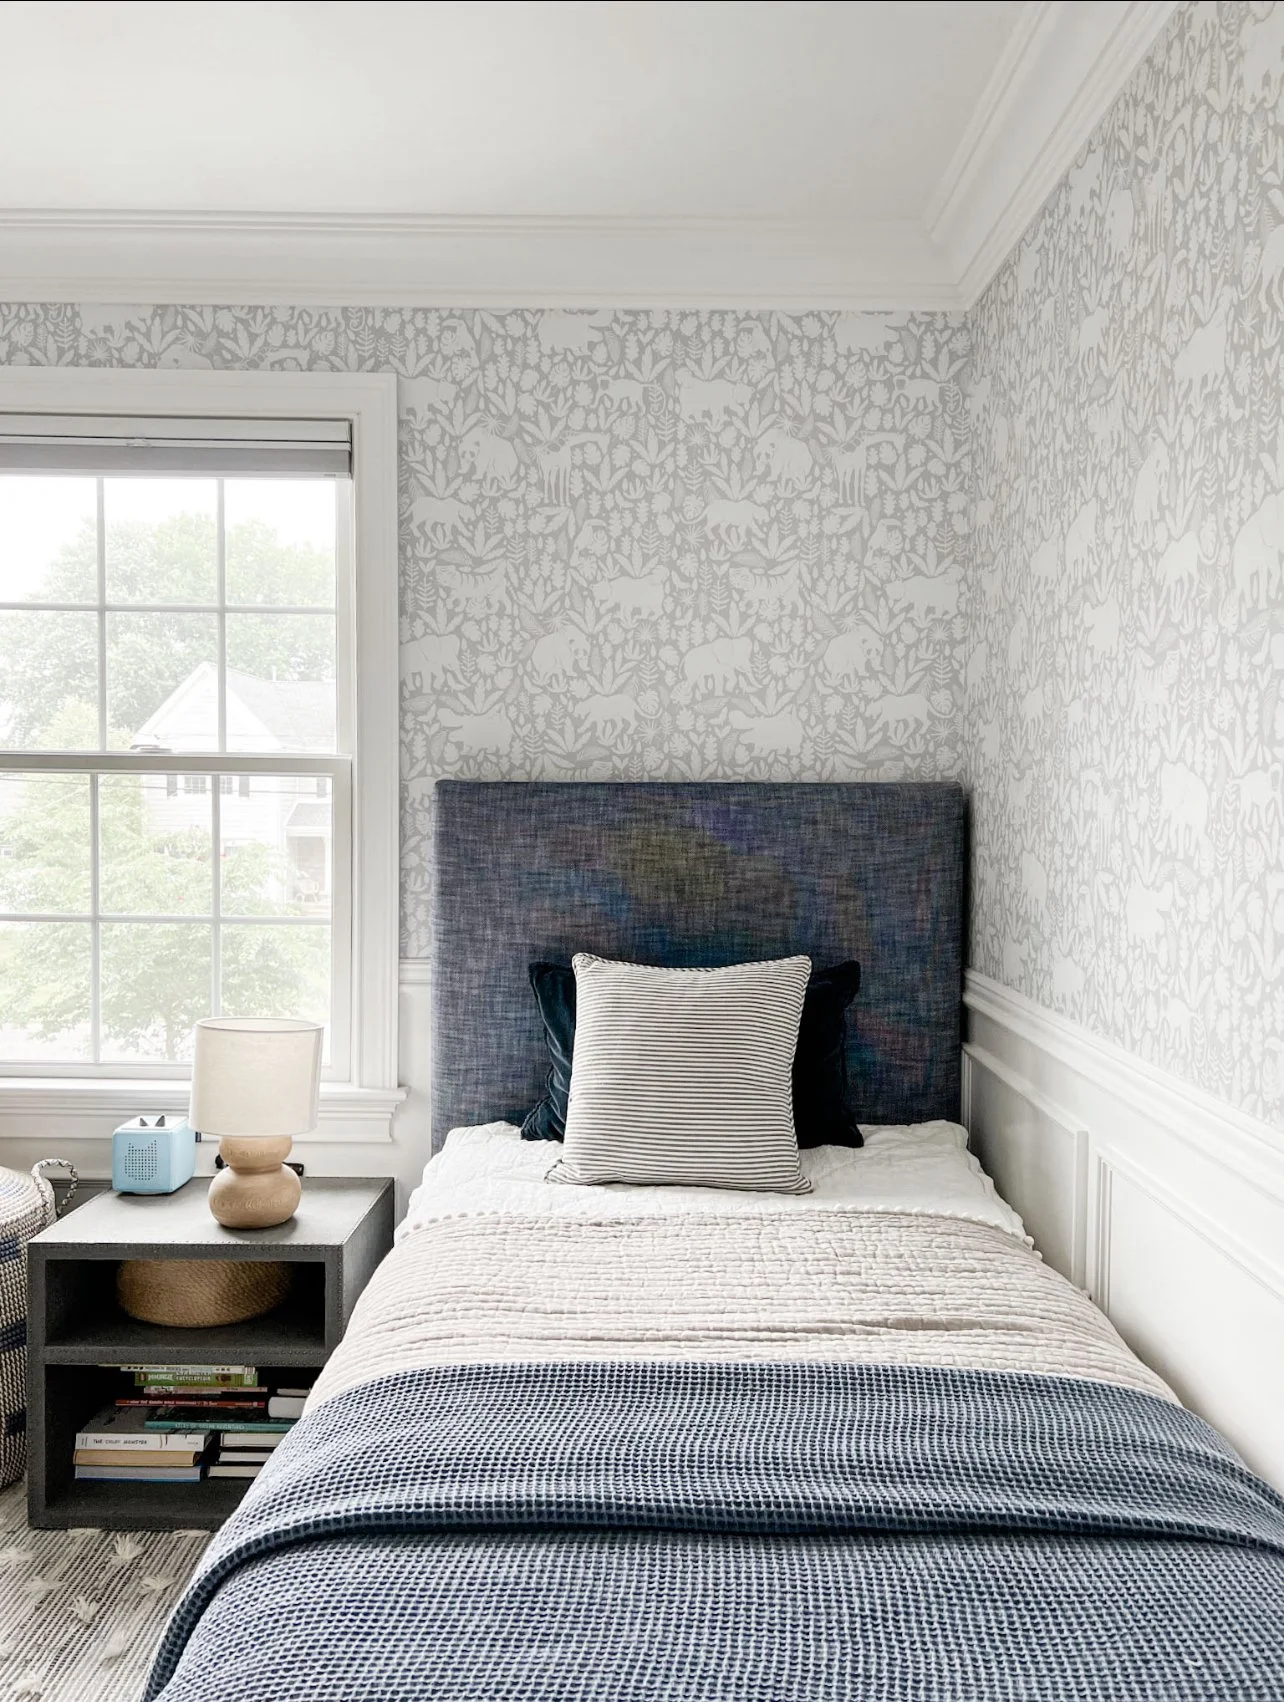
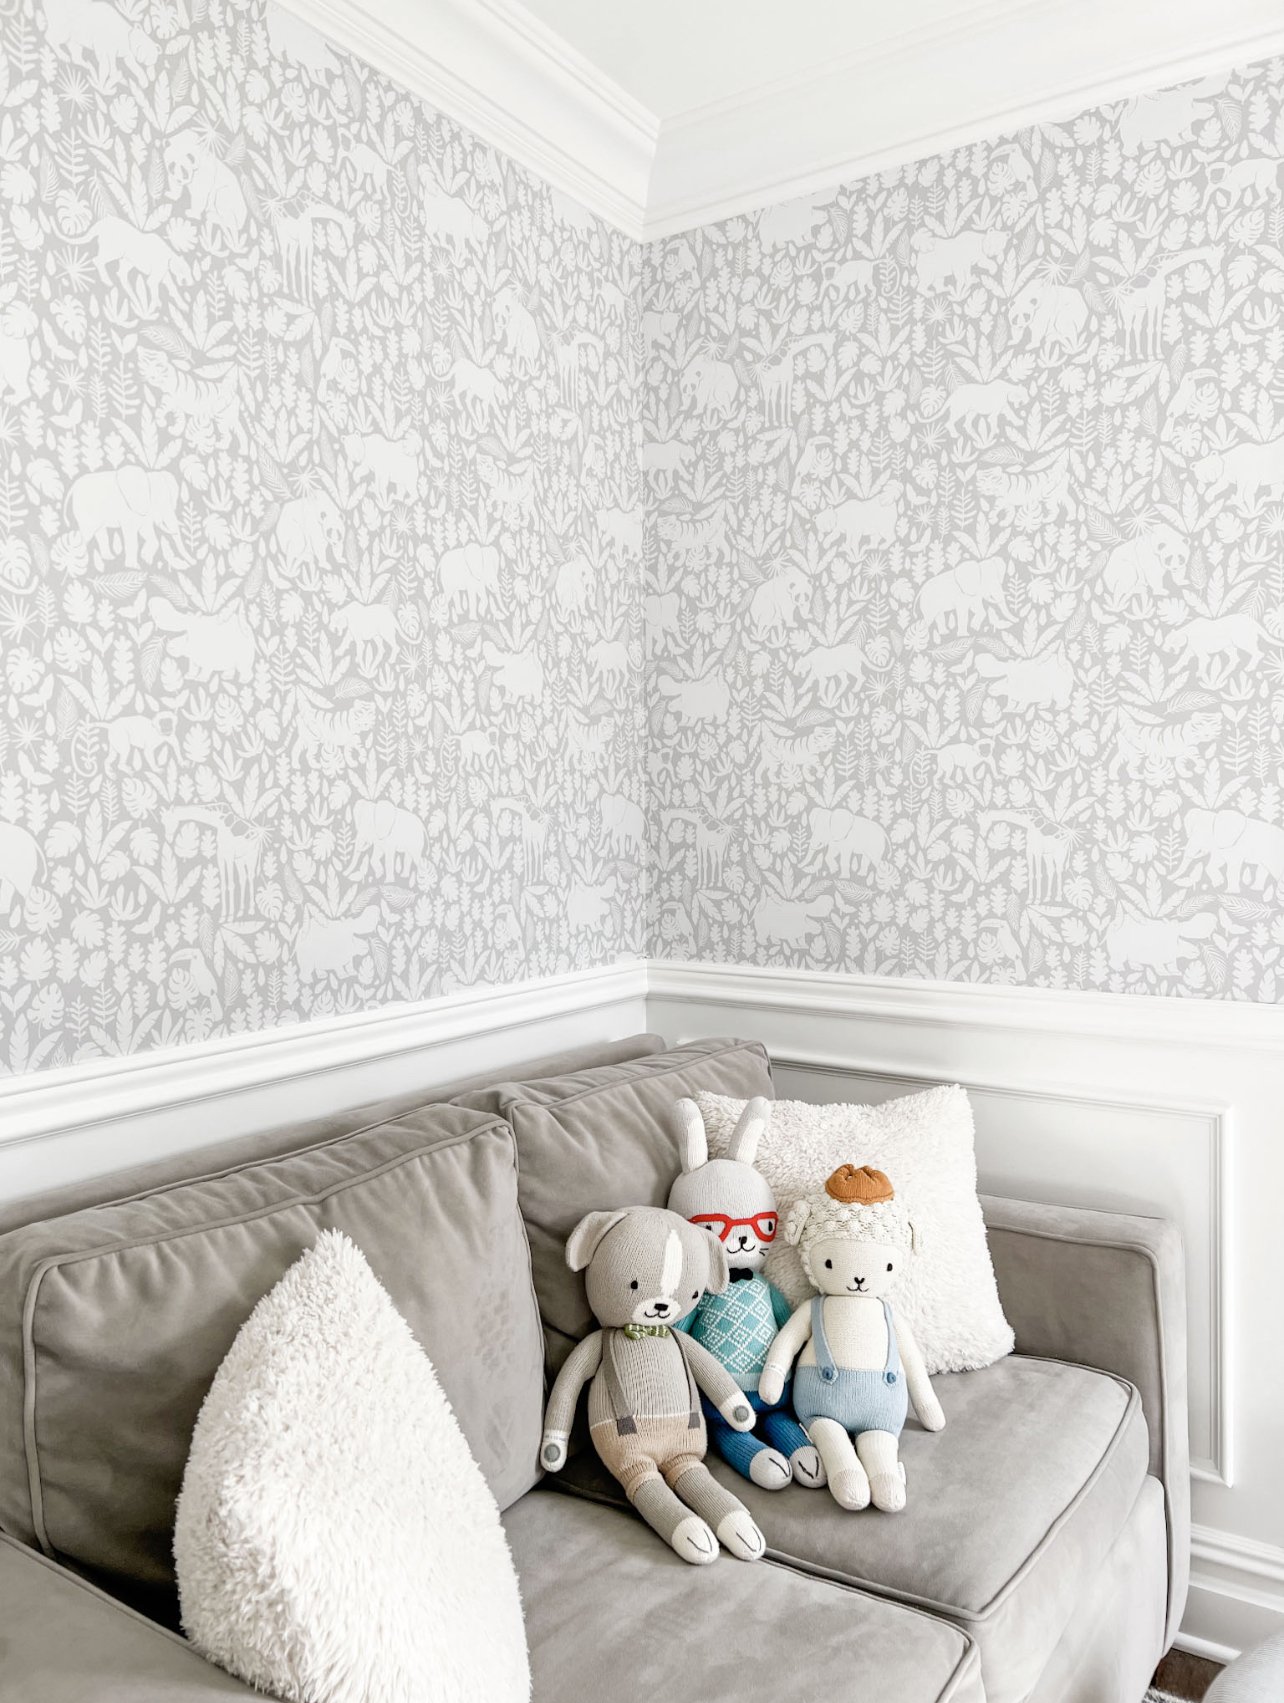
A huge thank you to Simple Shapes for gifting me the wallpaper for this project and for helping to transform Jacob’s room into the coziest space! Next up: art and accessories so stay tuned!