
DIY: How to Frame a Puzzle.
If you’re anything like us, you probably have a lot of puzzles in your home. I LOVE puzzles and our kids do too! We usually have at least one in the works at all time (on our dining room table).
Recently, Jacob put together a Pokemon puzzle and he was so in love with it that he asked if he could keep it. I thought about it for a minute and figured, why not? Let’s try framing it! I hadn’t framed a puzzle before but after a quick Pinterest search, I realized how easy it would be.
This is what you’ll need to frame any puzzle of your choice:
Mod Podge (I used shiny but matte works too! Totally a personal preference)
Foam paint brush
Frame to fit your puzzle
First, I measured the puzzle and ordered a frame from Amazon to fit the puzzle There are SO many affordable frame out there! I ordered this one, which arrived the next day.
Next, it was time to glue the puzzle together! There’s really just one step for this. I squeezed some of the mod podge onto the puzzle and spread it evenly with the foam brush. When you’re painting it on, it looks white but I promise that it will dry completely clear! You can use either matte or glossy mod podge — I chose glossy for this project.
It takes about 10-15 minutes for the mod podge to dry and once it does, your puzzle is glued! Carefully pick up the puzzle (in one piece!) and pop it into your frame).

Snap the back of the frame on and voila! It’s ready to be hung on a wall.
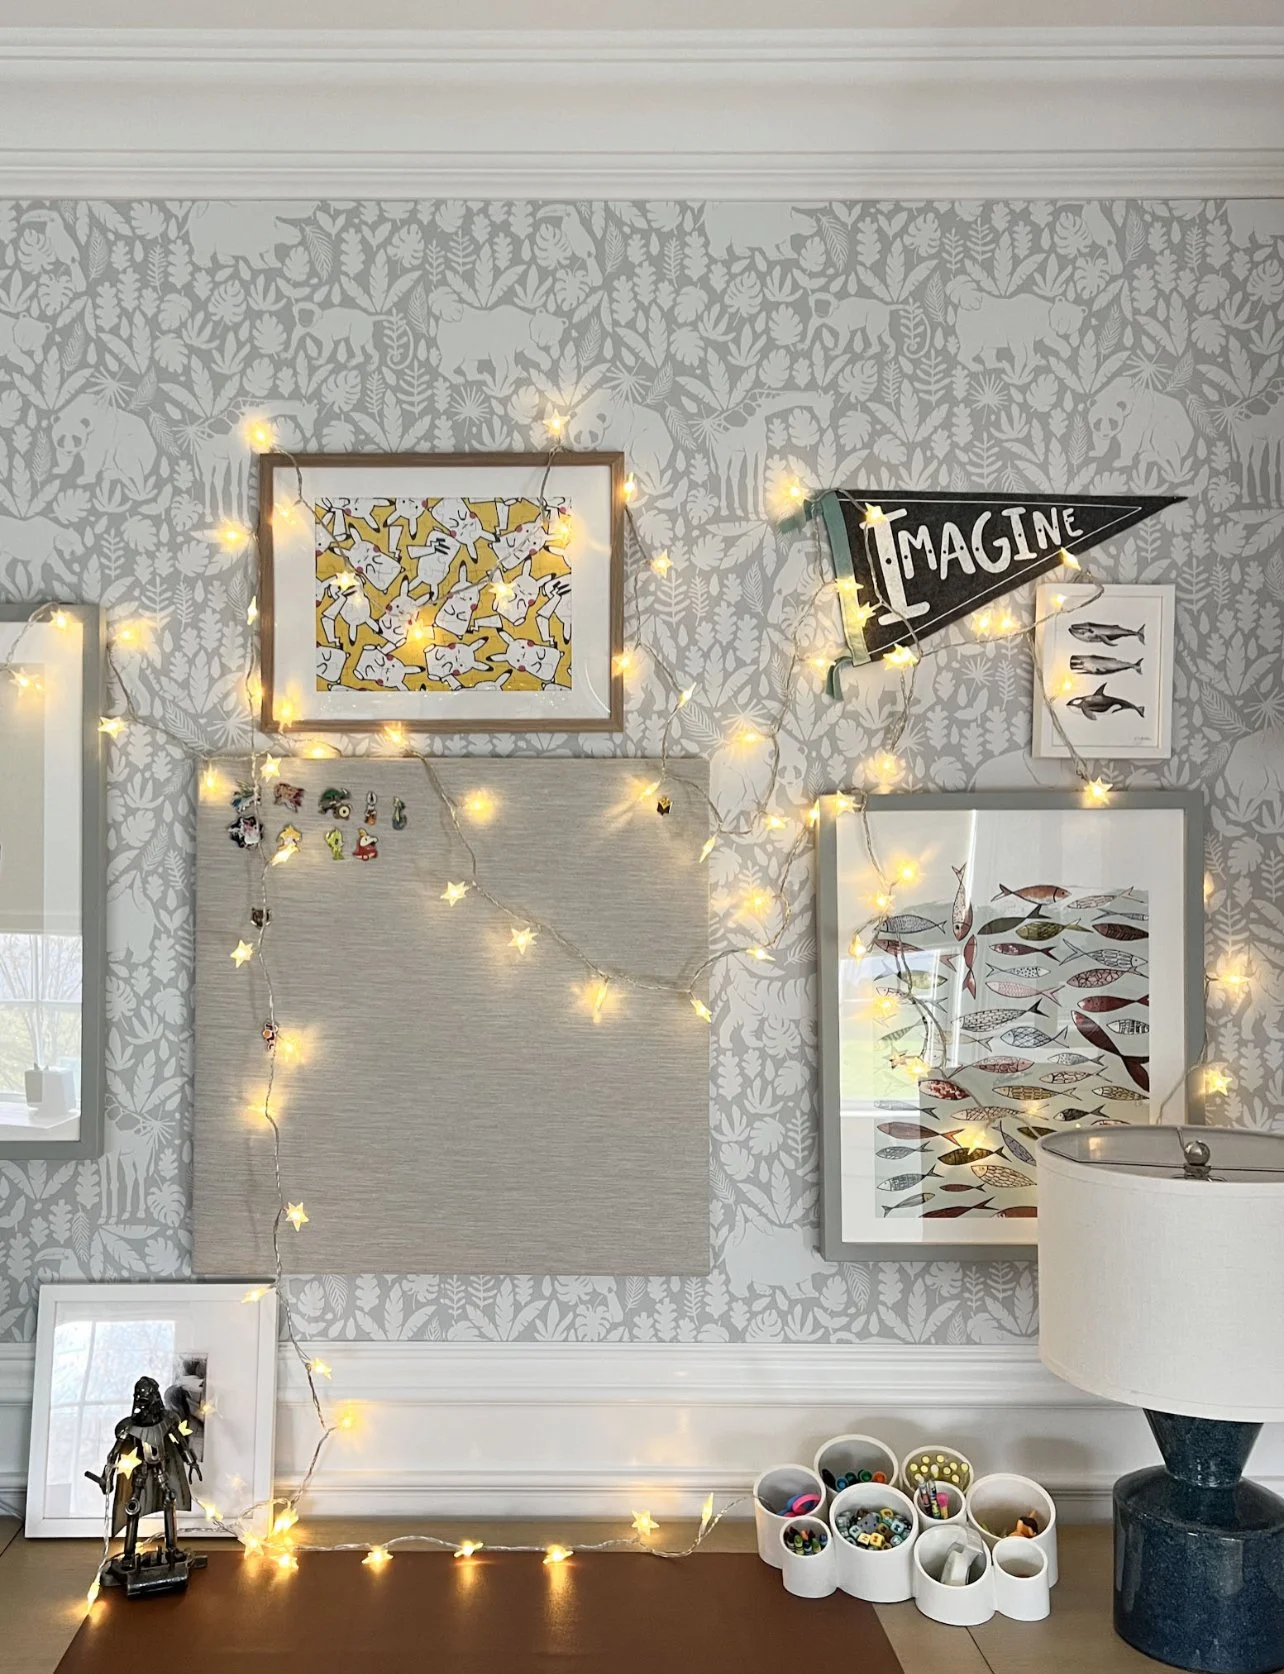
I love how easy this project was and how cute it looks in Jacob’s bedroom! I shared a little reel showing the full how-to here. This would work for any puzzle and makes a great gift. Let me know if you decide to try it!!