Dining Nook Update.
We’ve been in our home for about 3.5 years and I’m finally getting around to some of the fun projects that I’ve had in my head this whole time: the first of which being our dining nook!
My long-term plan includes adding a built-in bench under the window loaded with pillows and maybe a sconce or two for the wall for additional light, but that likely won’t happen until next year. Over the past few weeks, however, I’ve been able to tackle a few DIY updates that (I think) have completely transformed our little nook!
First, a look at the before (which honestly wasn’t bad!):
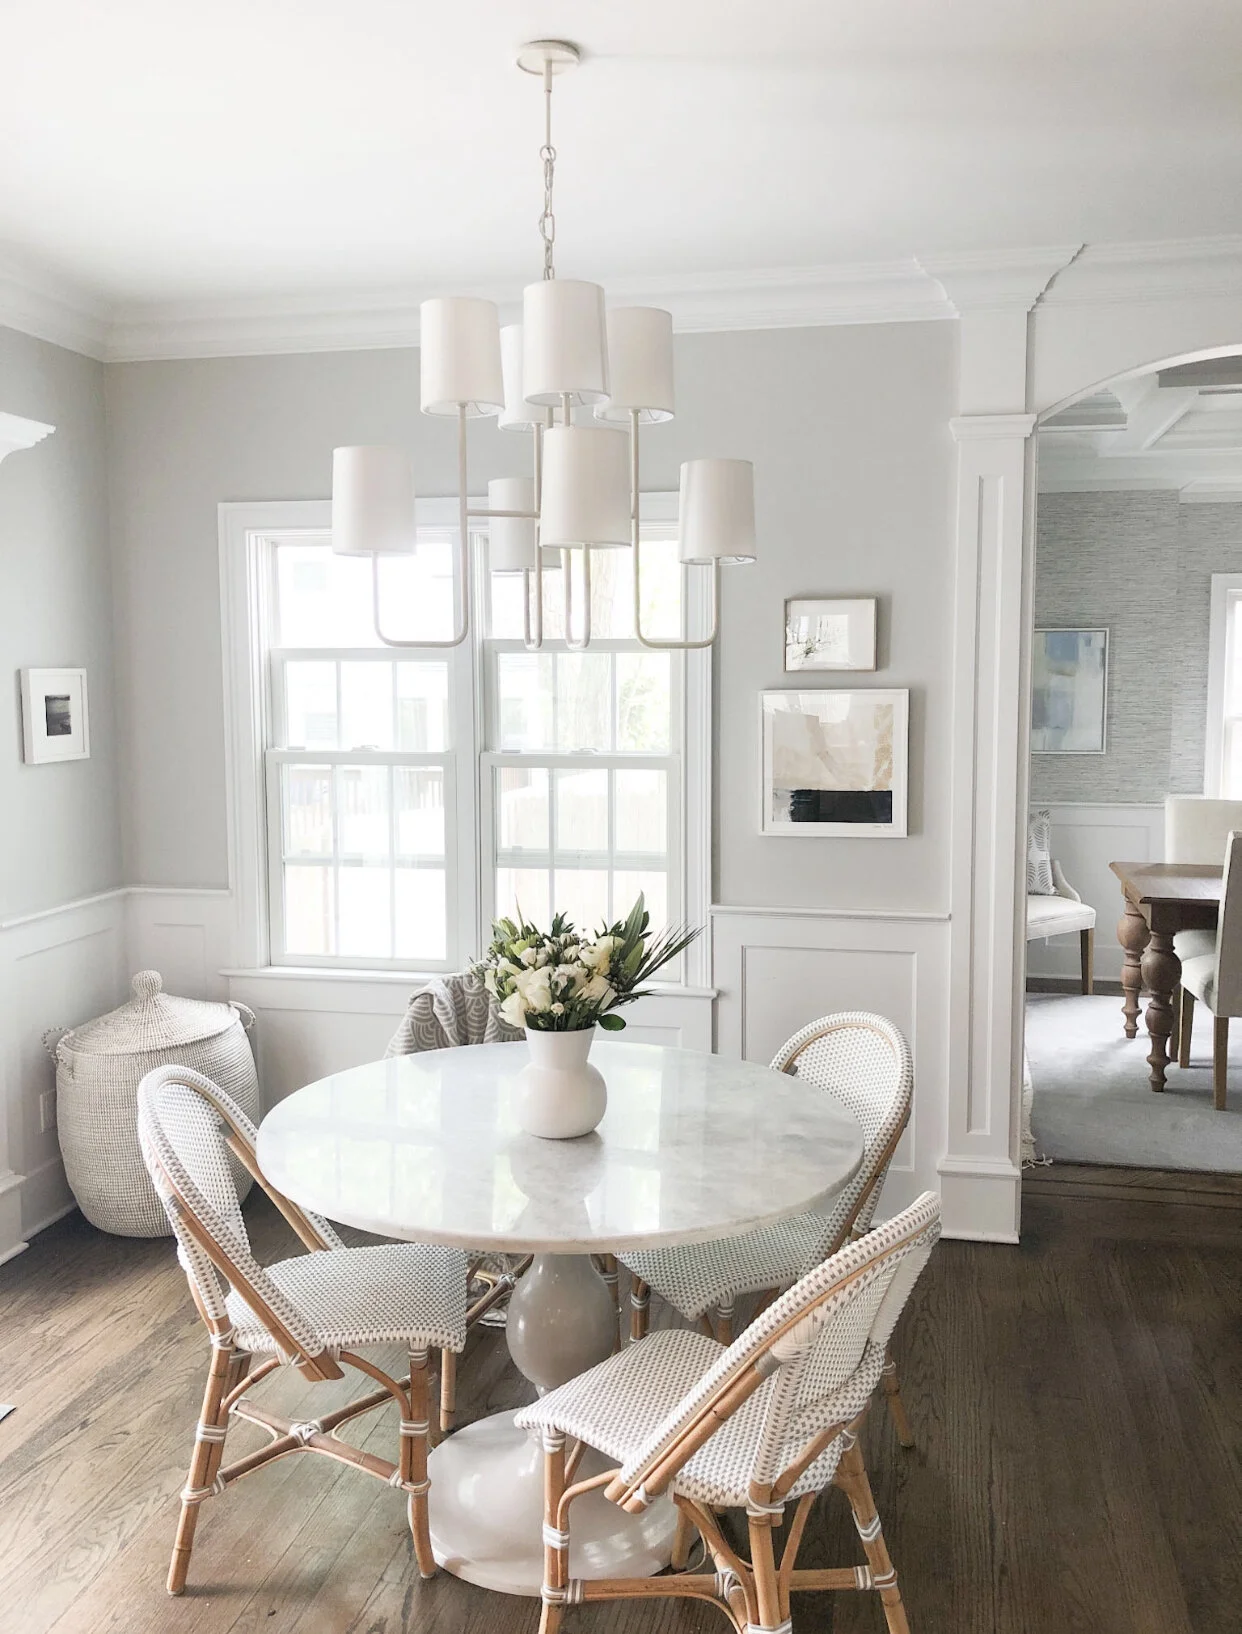
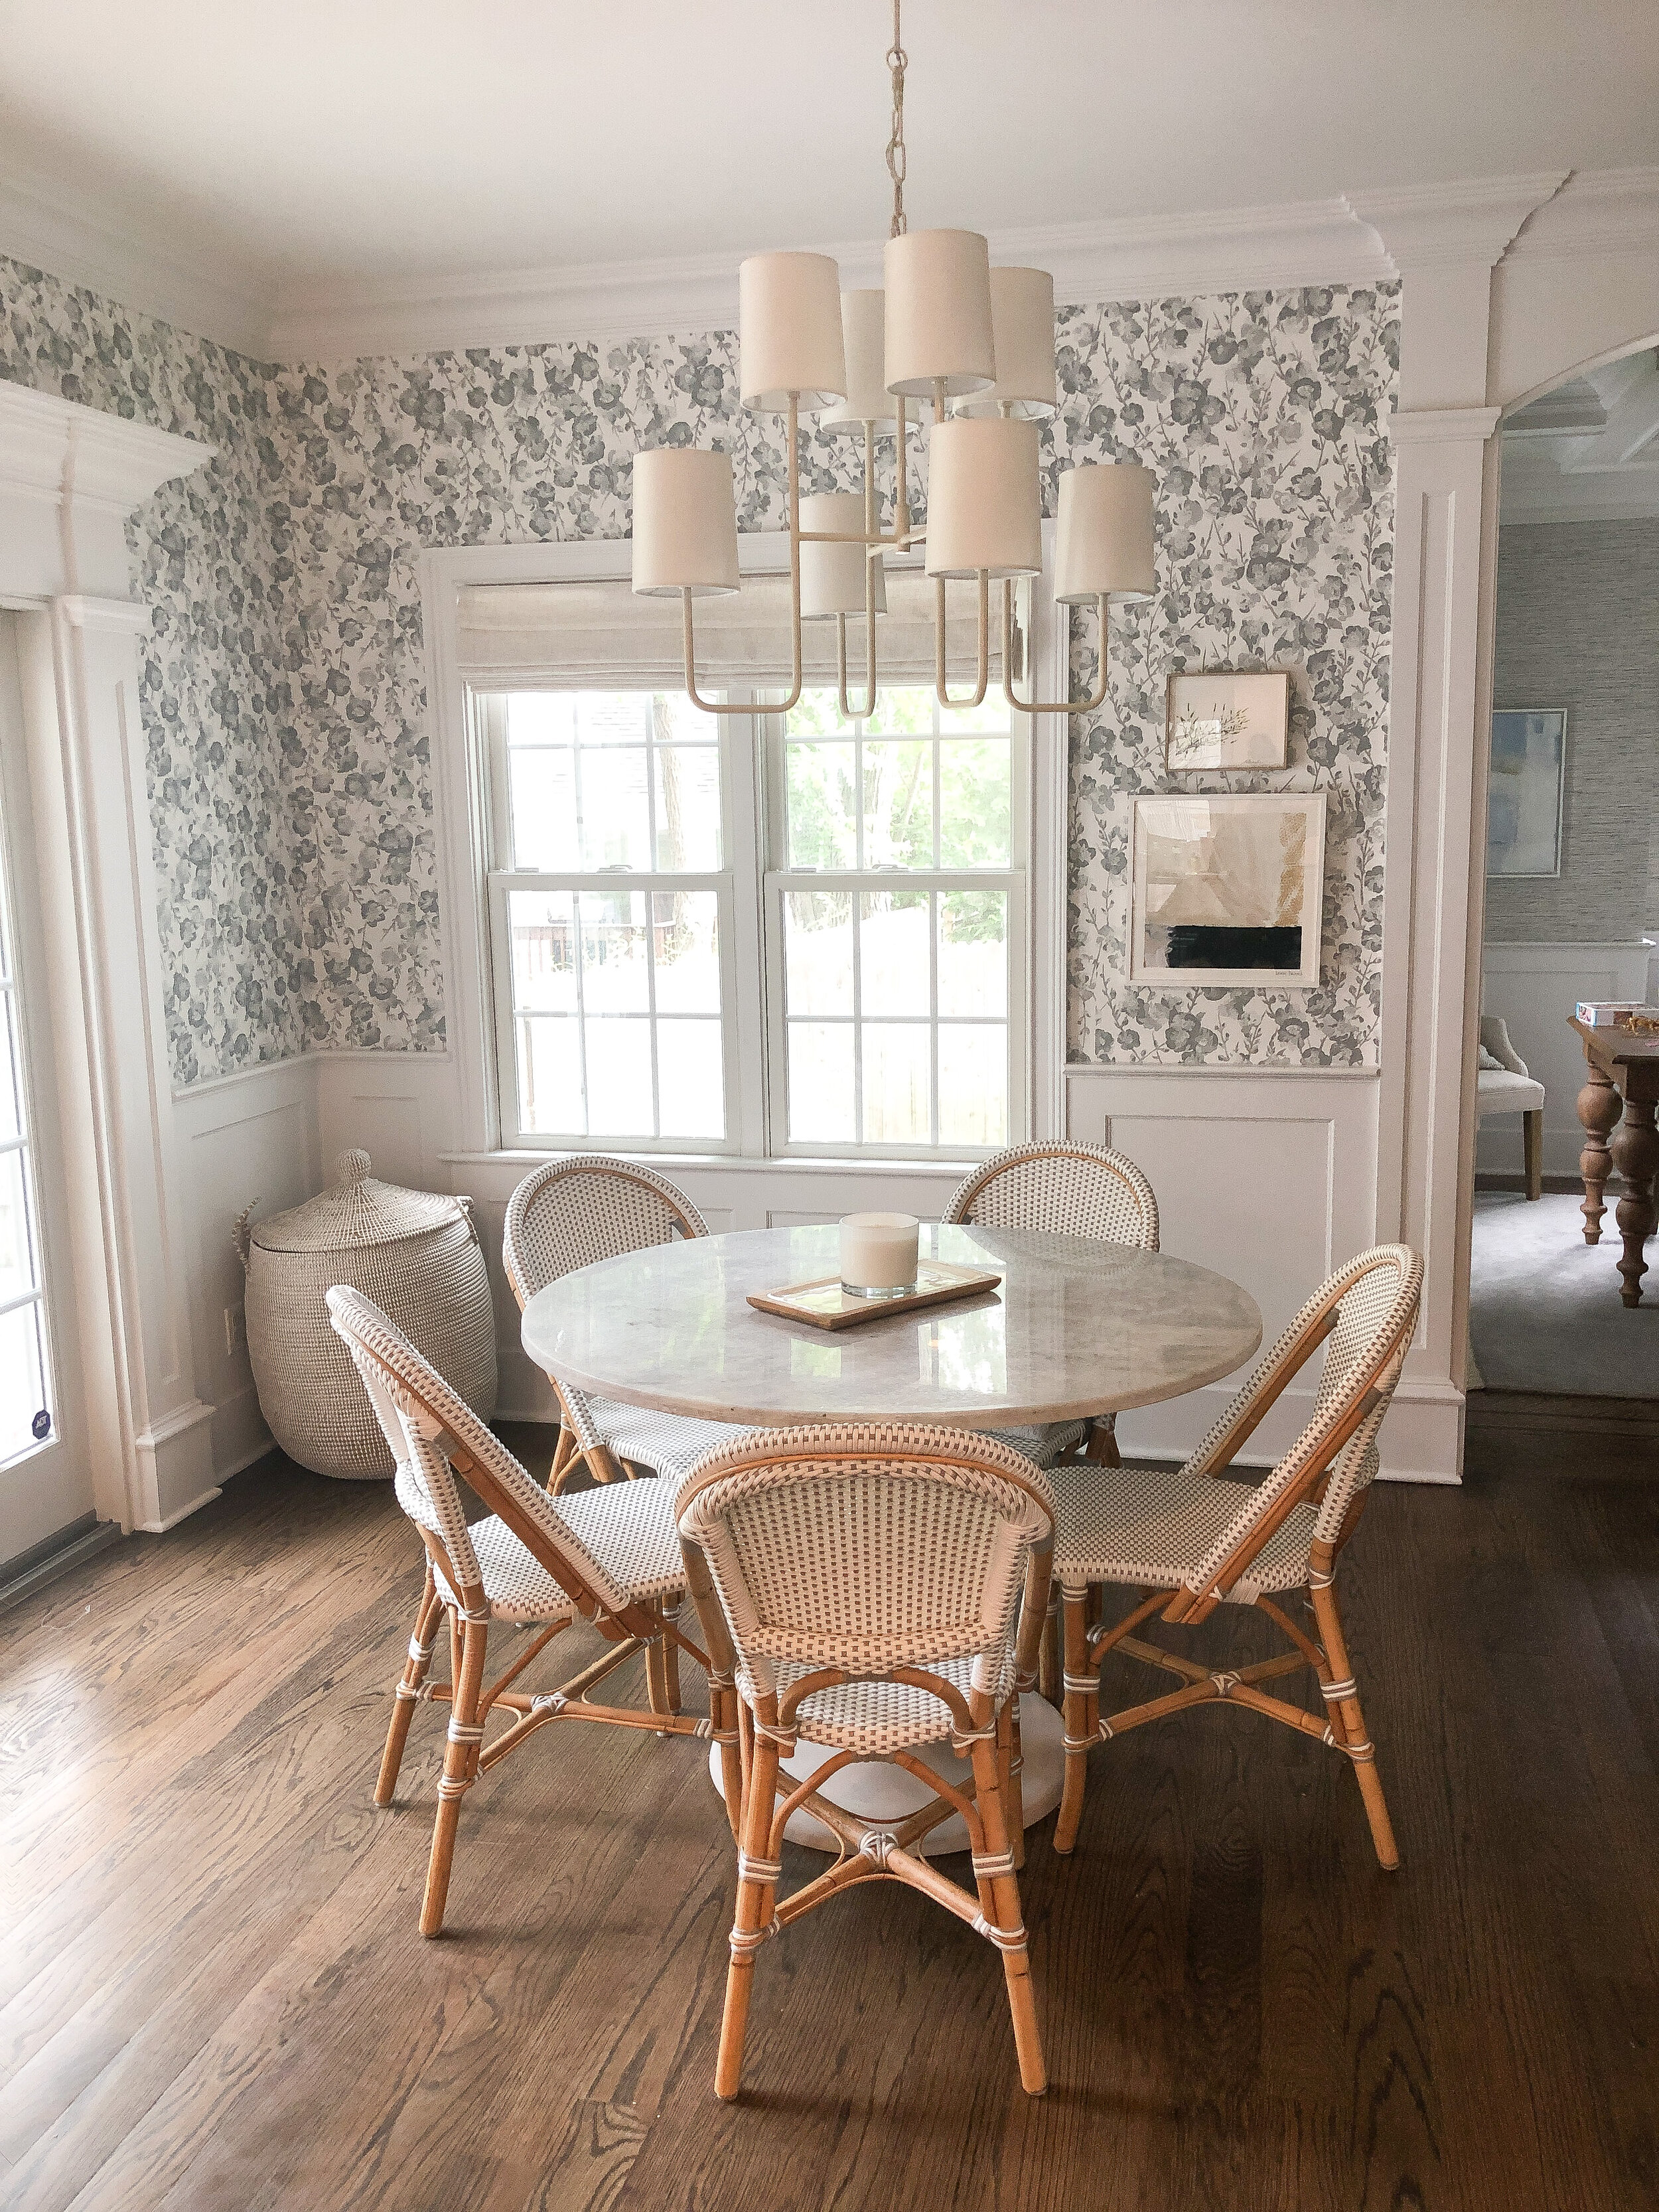
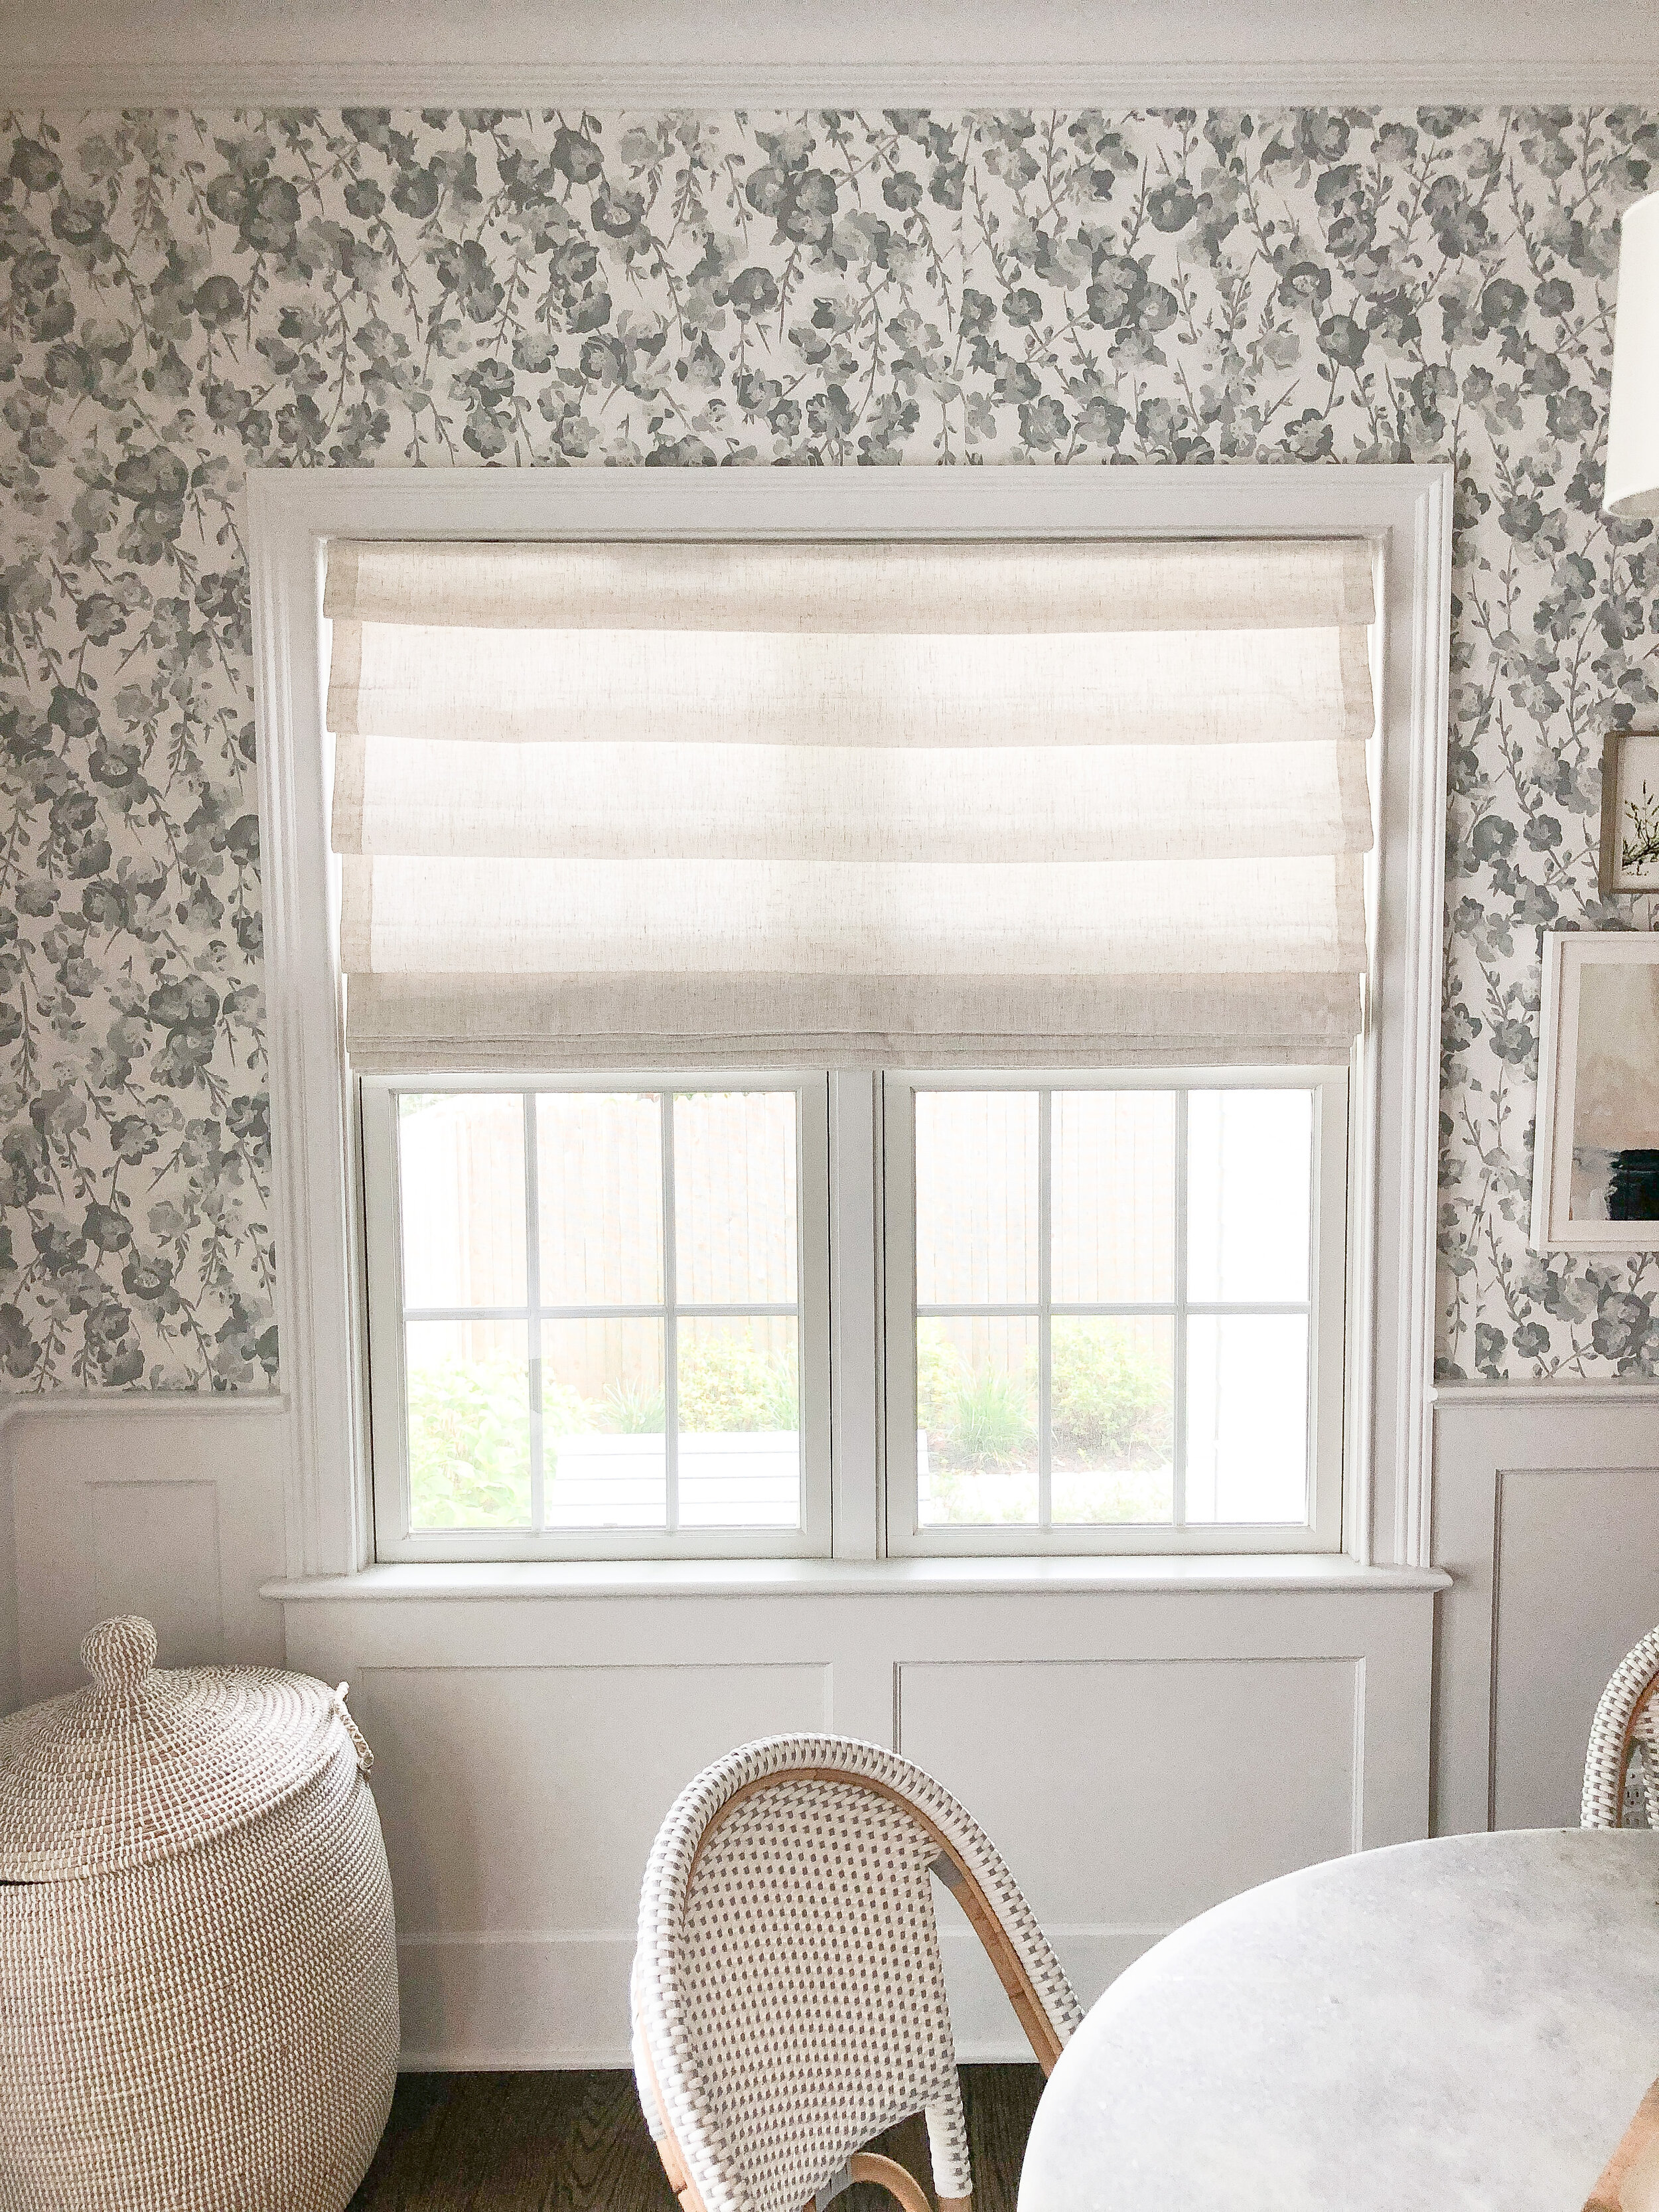
I’ve always loved this dining nook because it’s right off the kitchen and living room and it gets a ton of natural light. It’s where we eat, do arts & crafts, and enjoy a morning cup of coffee. Another thing I’d like to say about this space is that it’s 100% kid-friendly! The table and chairs wipe clean and the wainscoting actually protects the lower wall from projectile food or play-doh. Nothing in here is too precious but it also looks polished and laid back, which is how I roll.
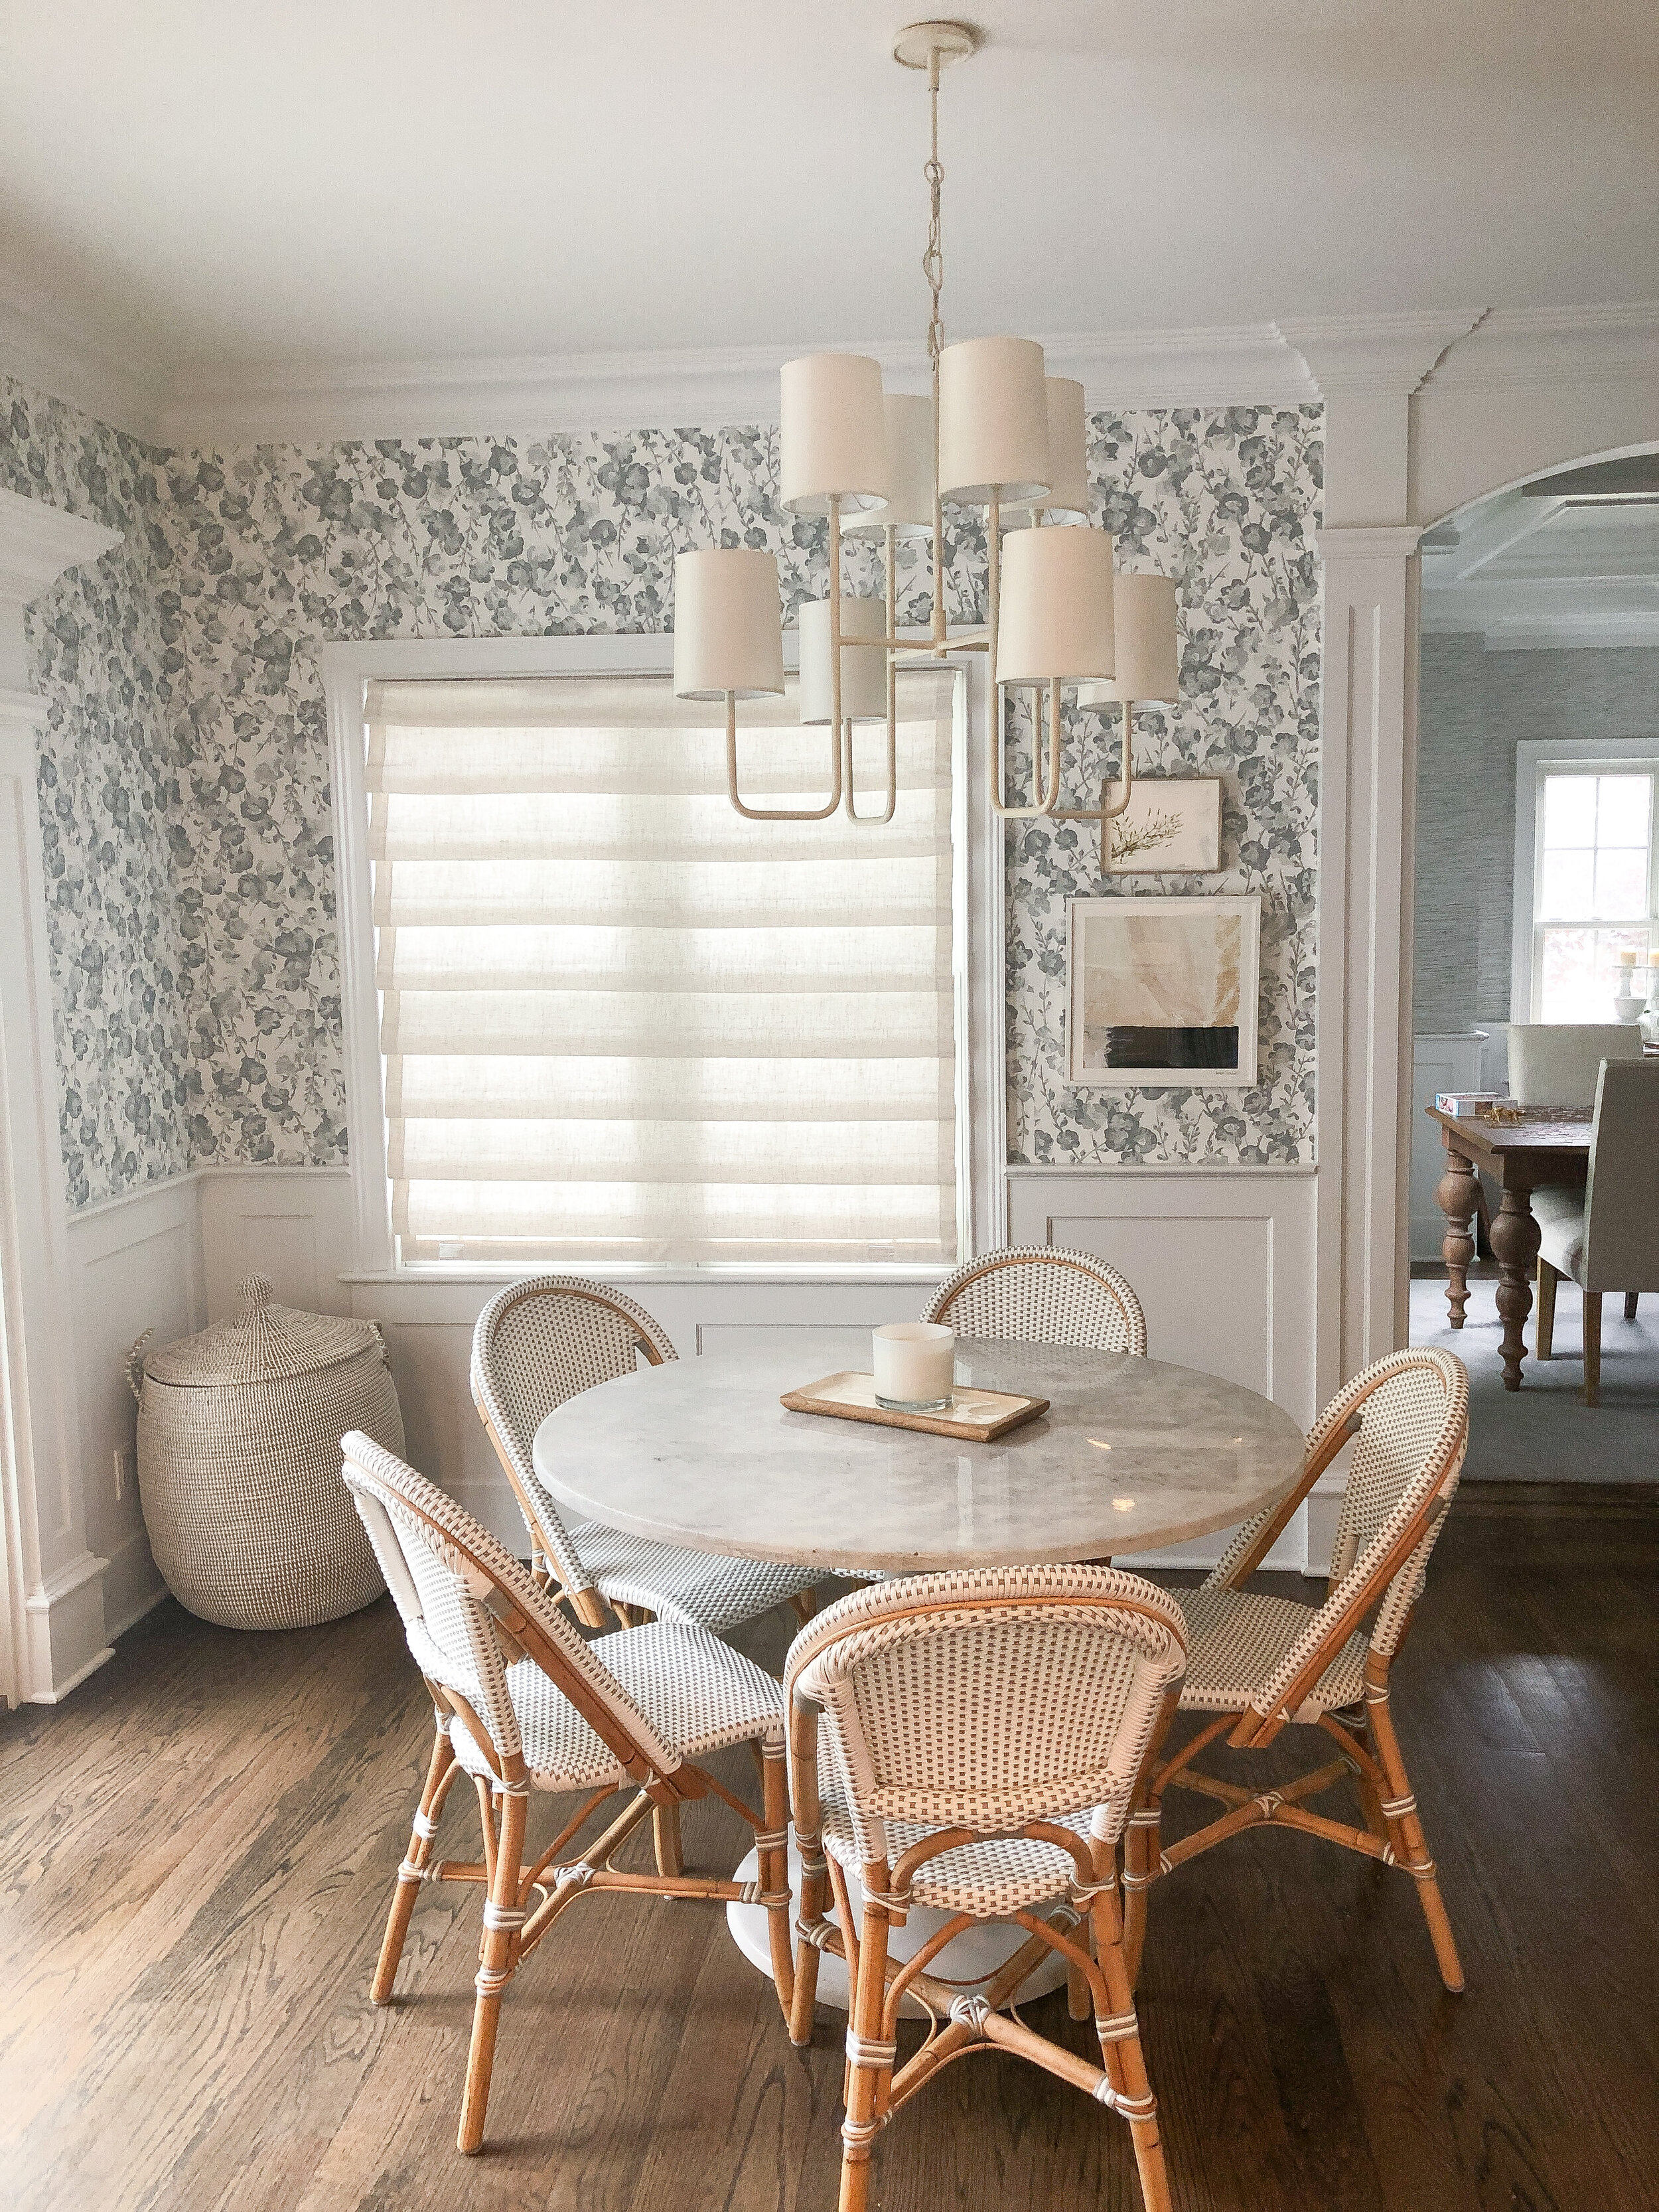
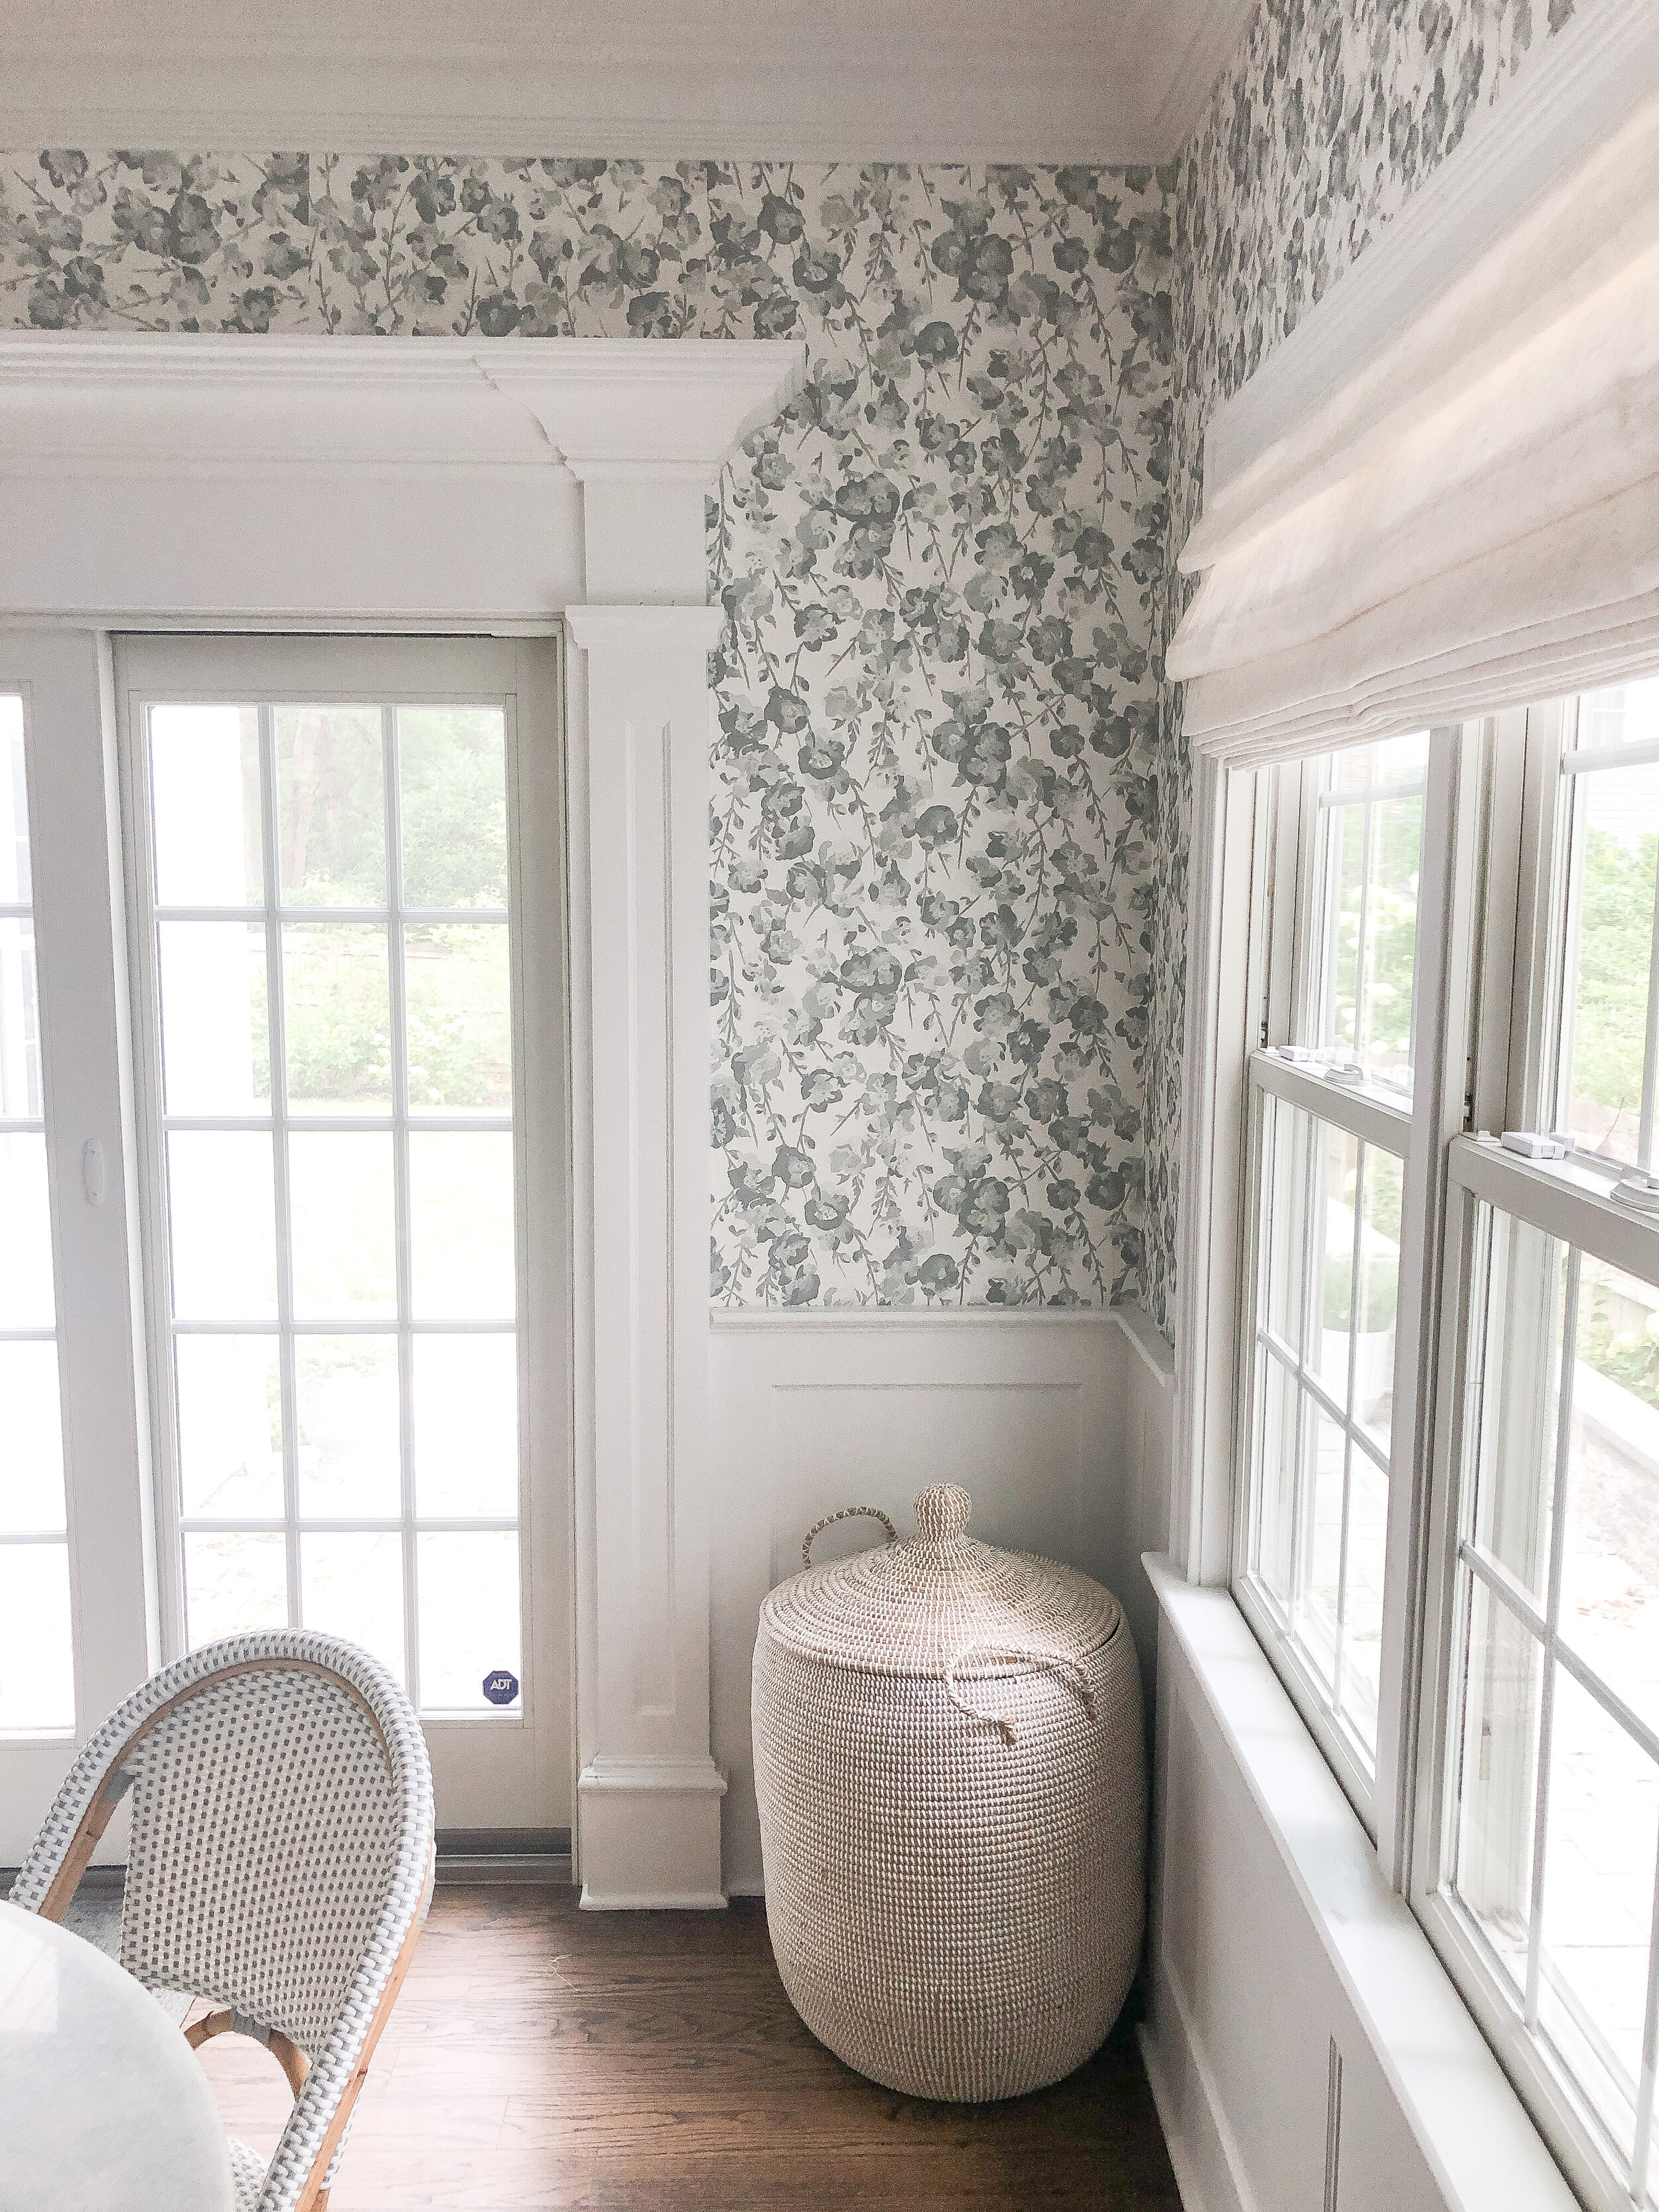
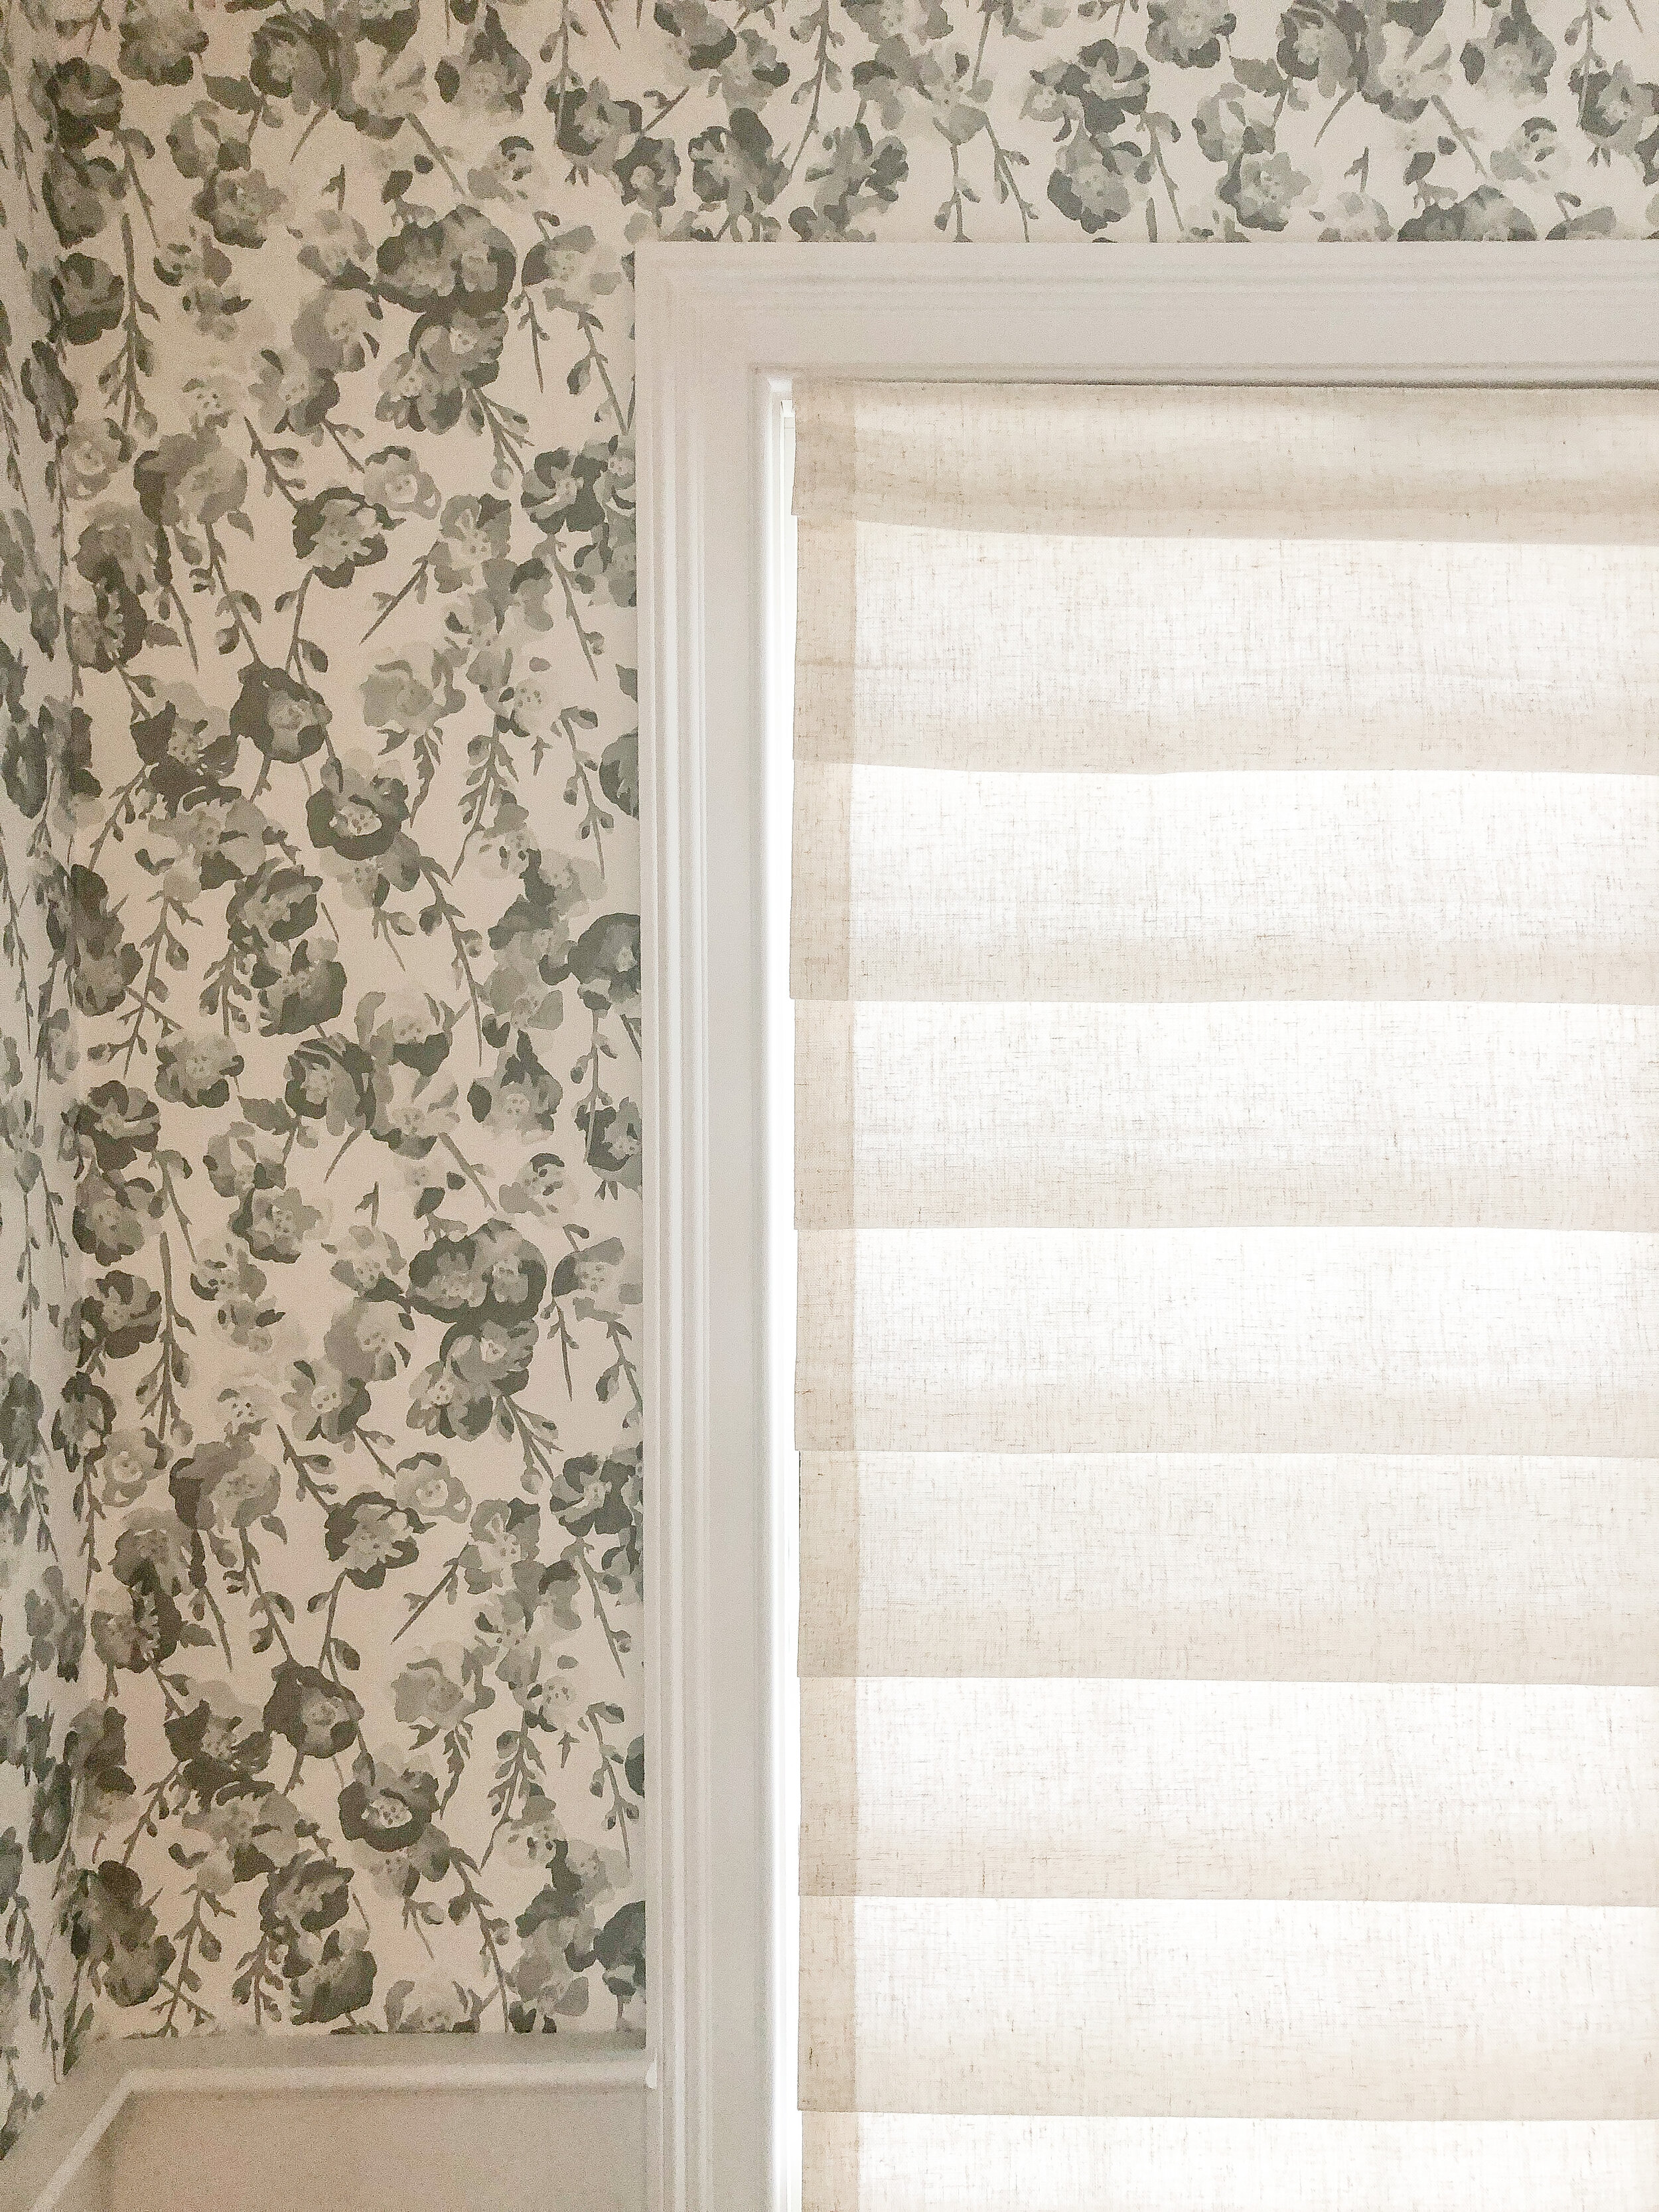
The first little project I tackled was to add this beautiful Fairfax wallpaper from Serena & Lily to the two walls of the dining nook. This wallpaper in particular seemed perfect because the floral warms up the nook and brings the outdoors in, while keeping with my favorite color palette (gray and white).

I chose to hang the wallpaper myself, which took only a few hours (between nap time and when the kids were in bed for the night), and saved us $$$ by not having to hire a professional. I’m planning to write a separate blog post on installing wallpaper for beginners soon! Hoping to get that up for you next week :)
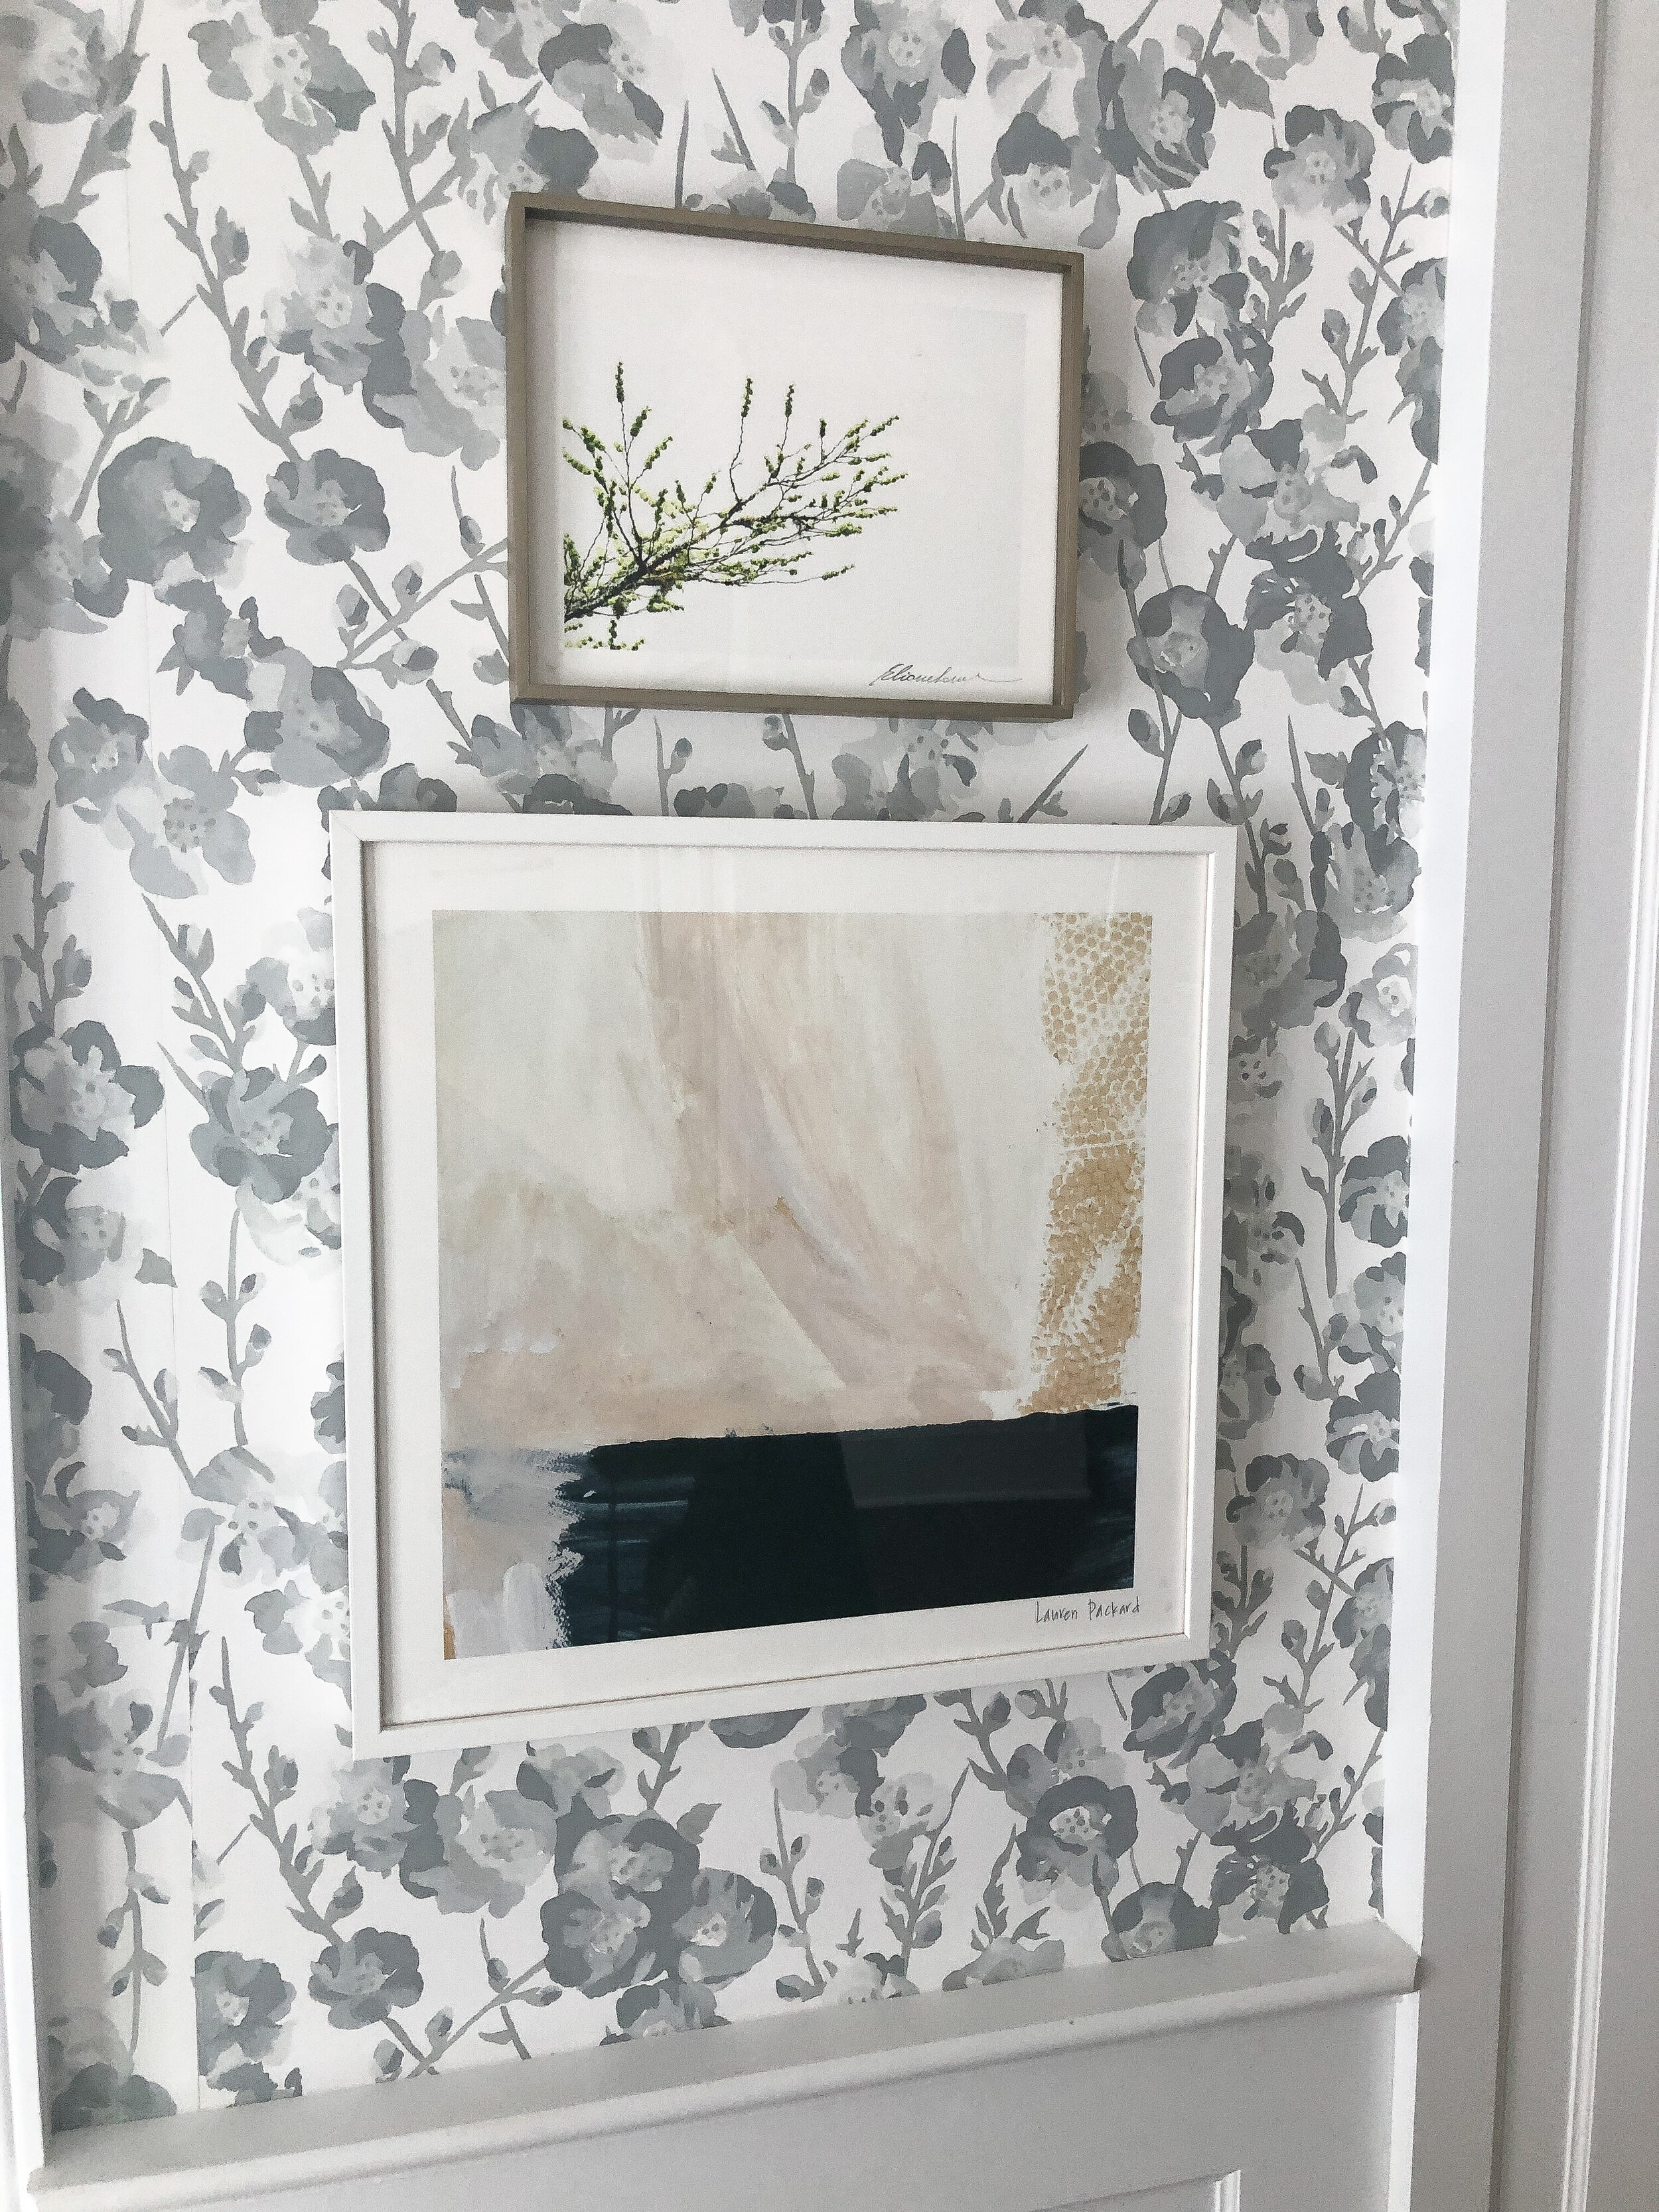
Once the wallpaper had dried to the wall, I immediately hung our artwork back up:

A few of you messaged me to ask if I was nervous to make holes in the wall with nails and my answer was “nope!” I love the look of layering artwork over wallpaper. My advice is to bite the bullet and just get it up there! You won’t regret it.
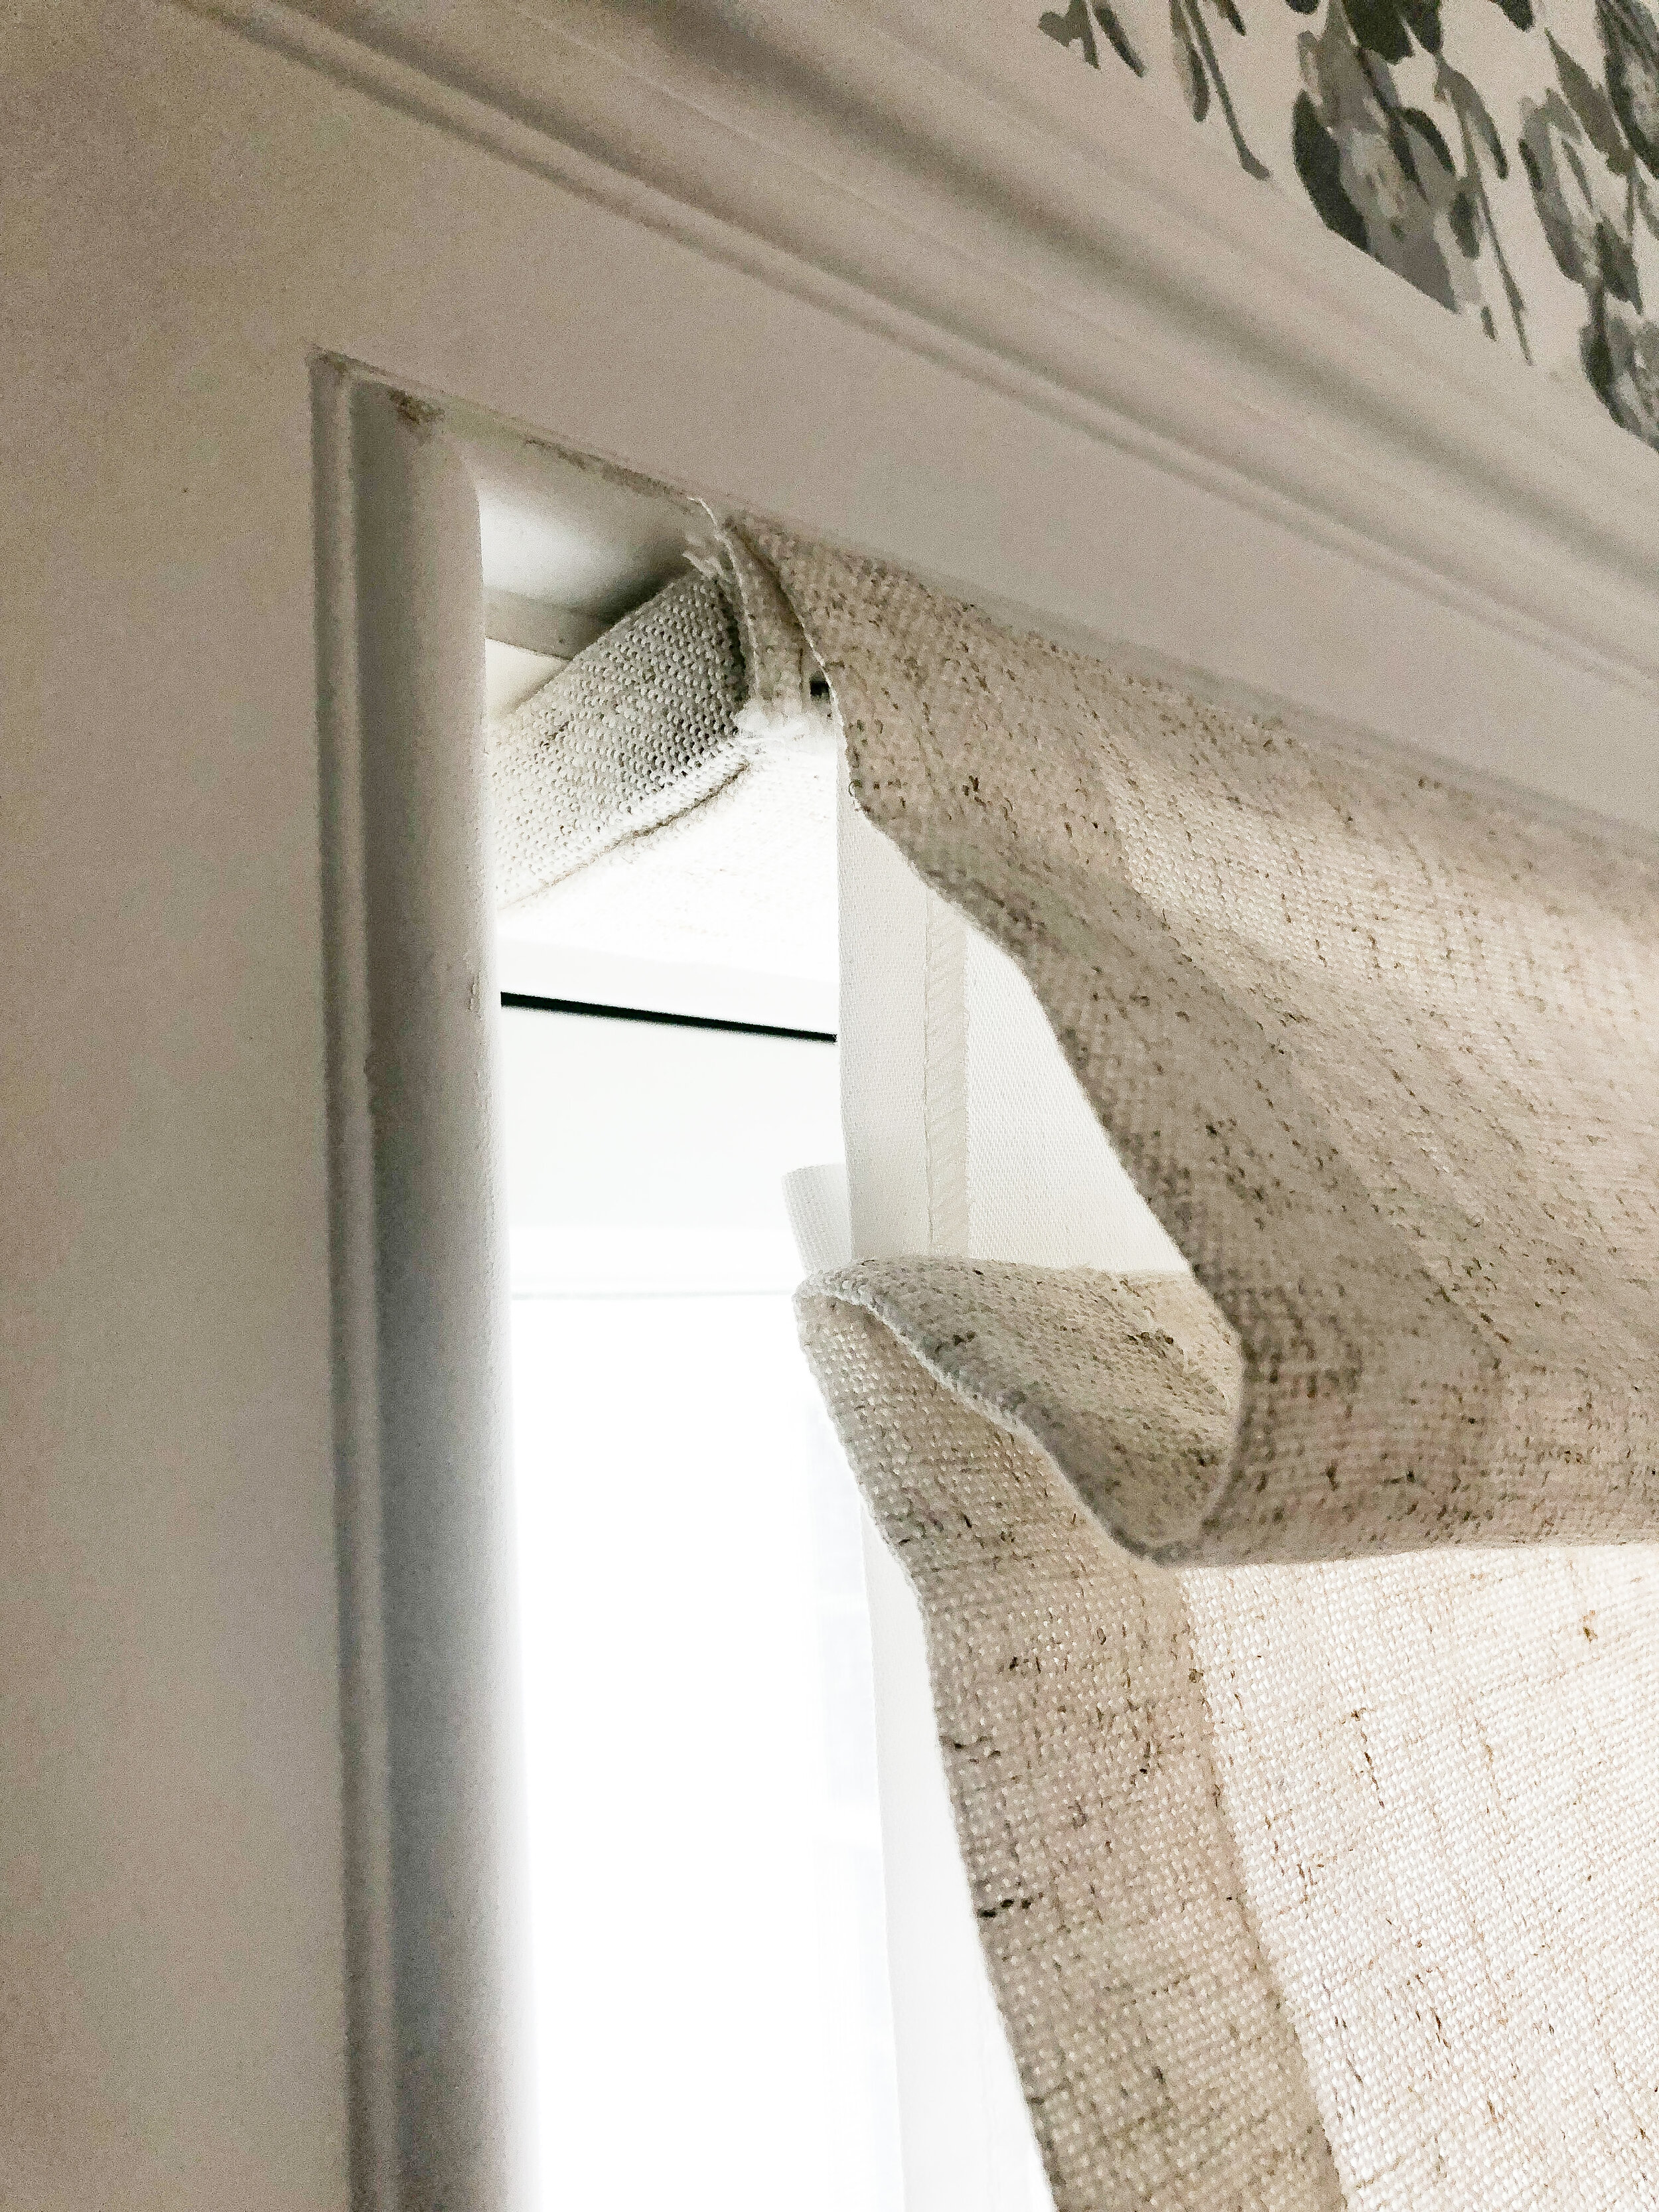
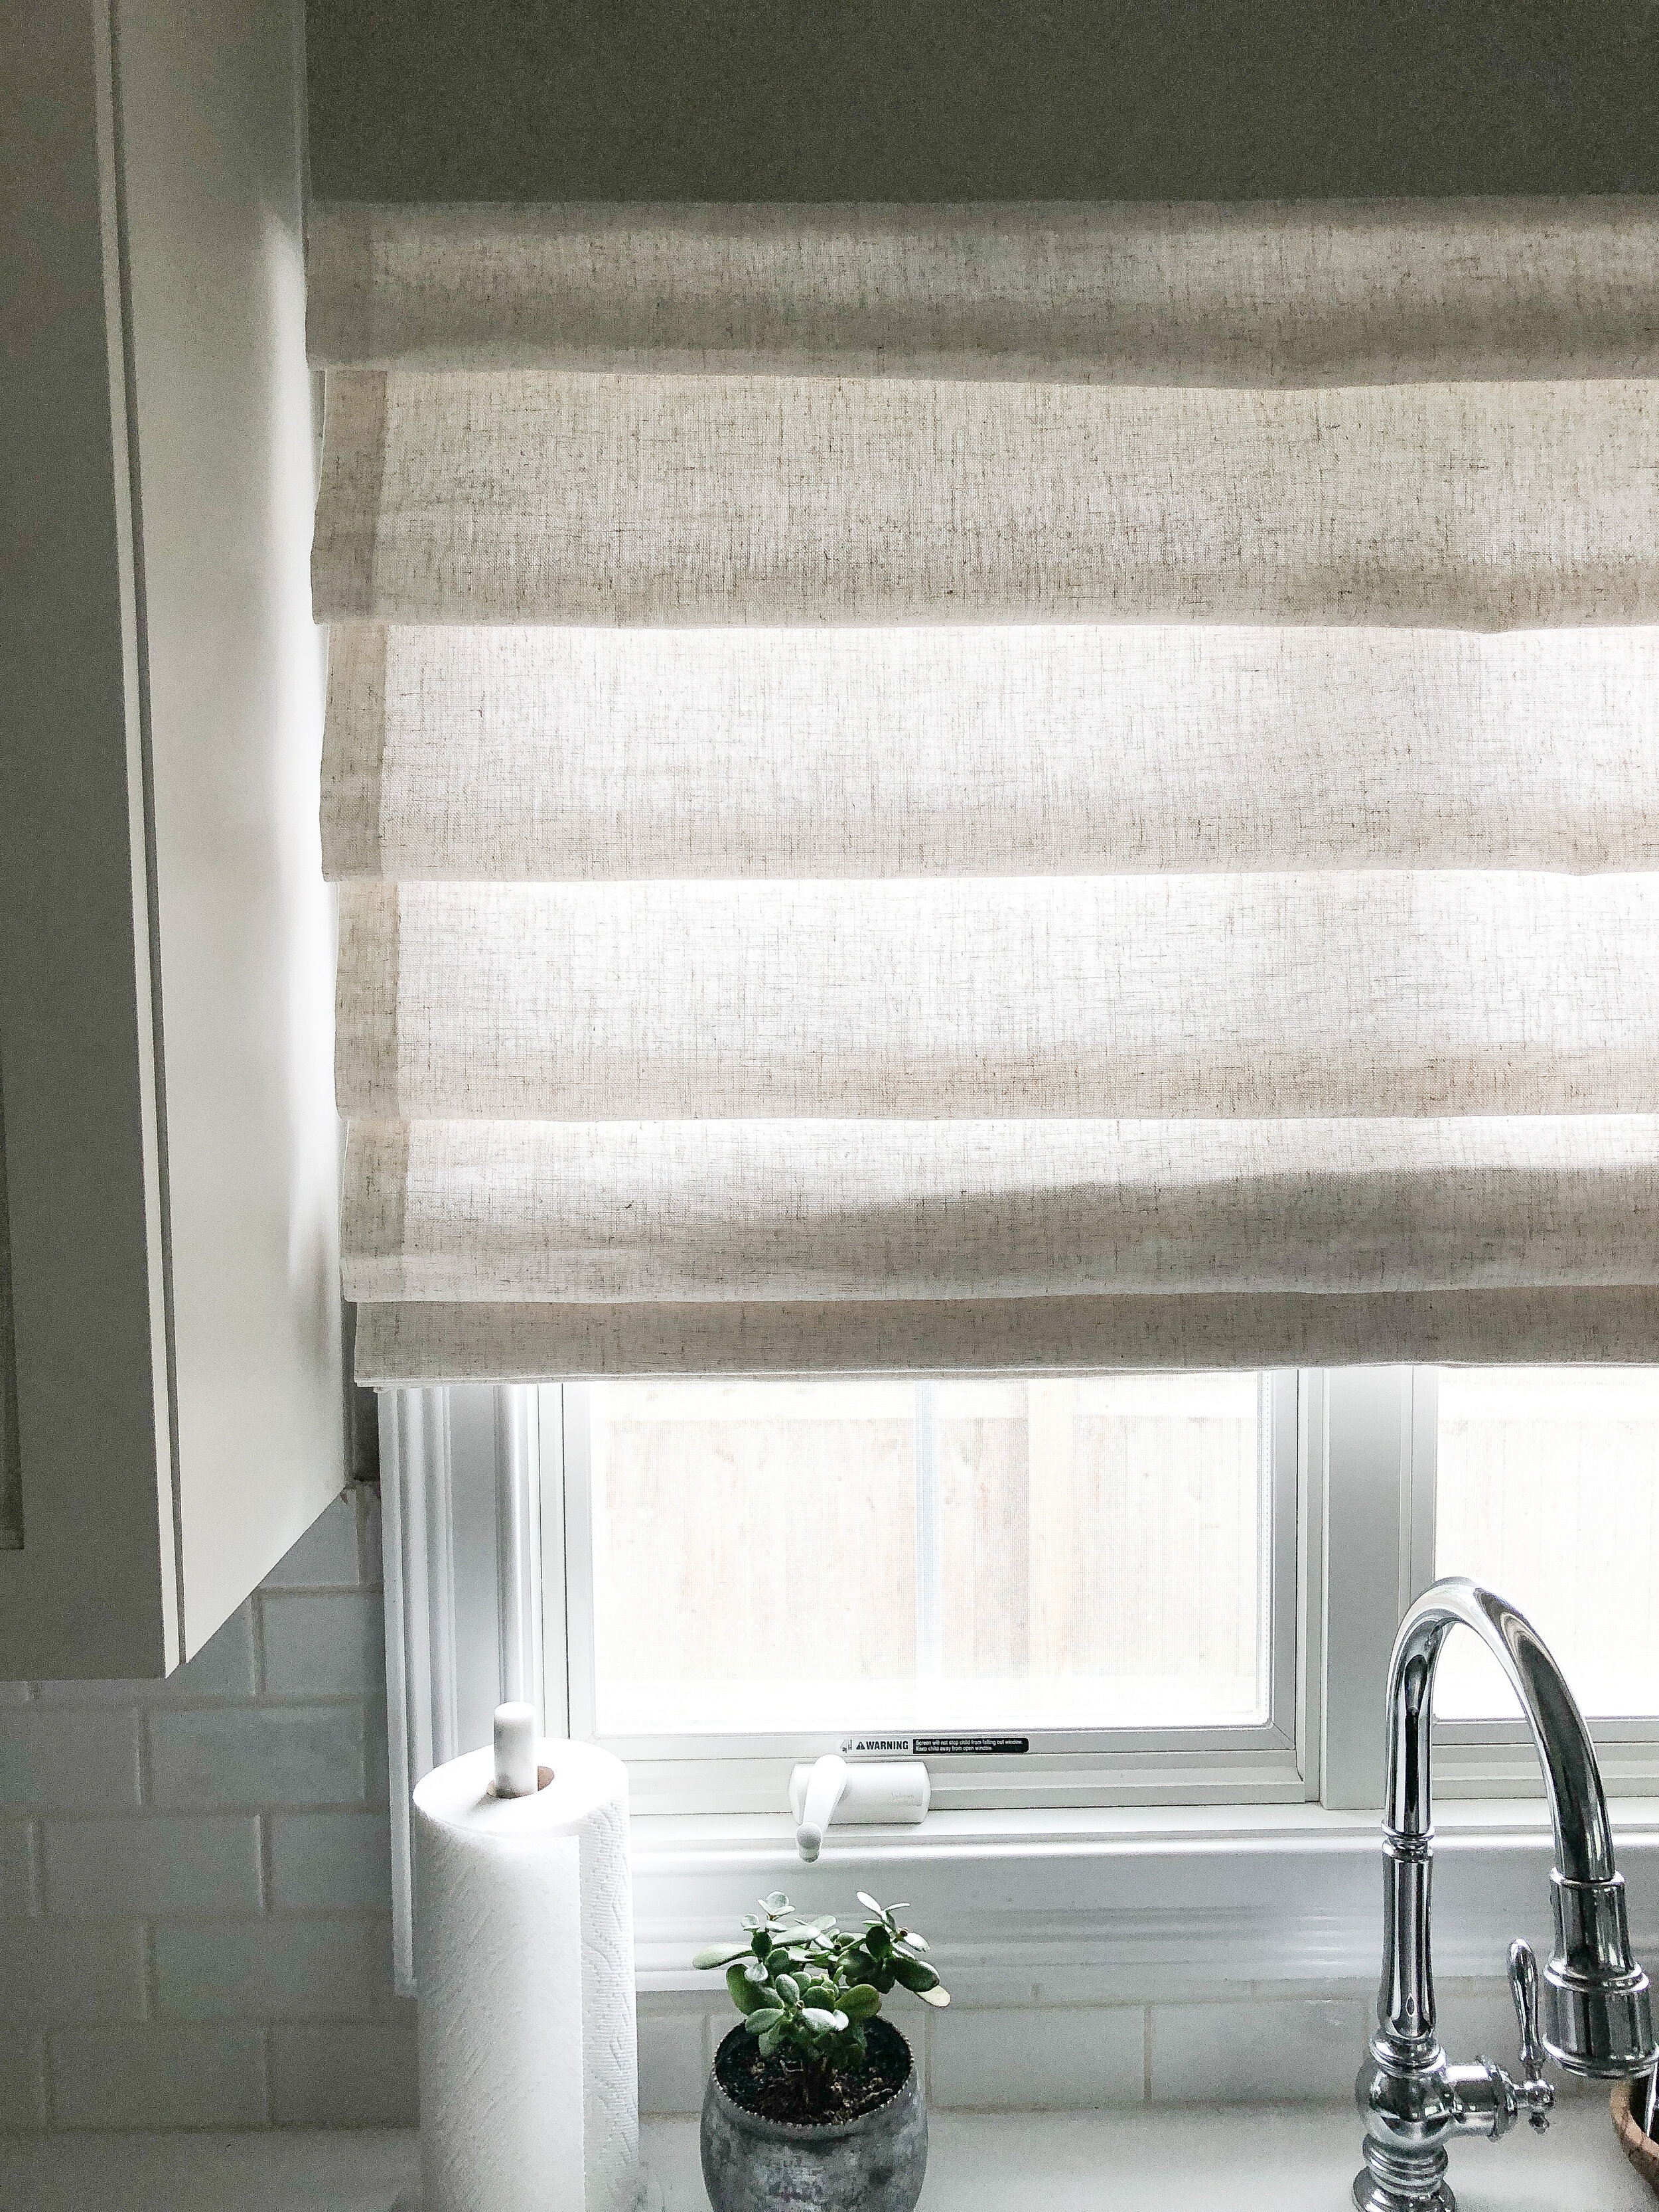
The second thing I did to cozy up this space further was to add custom roman shades from Select Blinds. I chose the Classic Roman Shade in “White Linen” and opted for a cordless lift, a soft fold and the standard liner.

There are so many different styles and fabric options available but I wanted something neutral to really let the wallpaper shine. The “White Linen” isn’t a stark white, which I personally like. It’s more of a creamy off-white but you can order free samples of any of the fabrics you’re considering before you place your order.

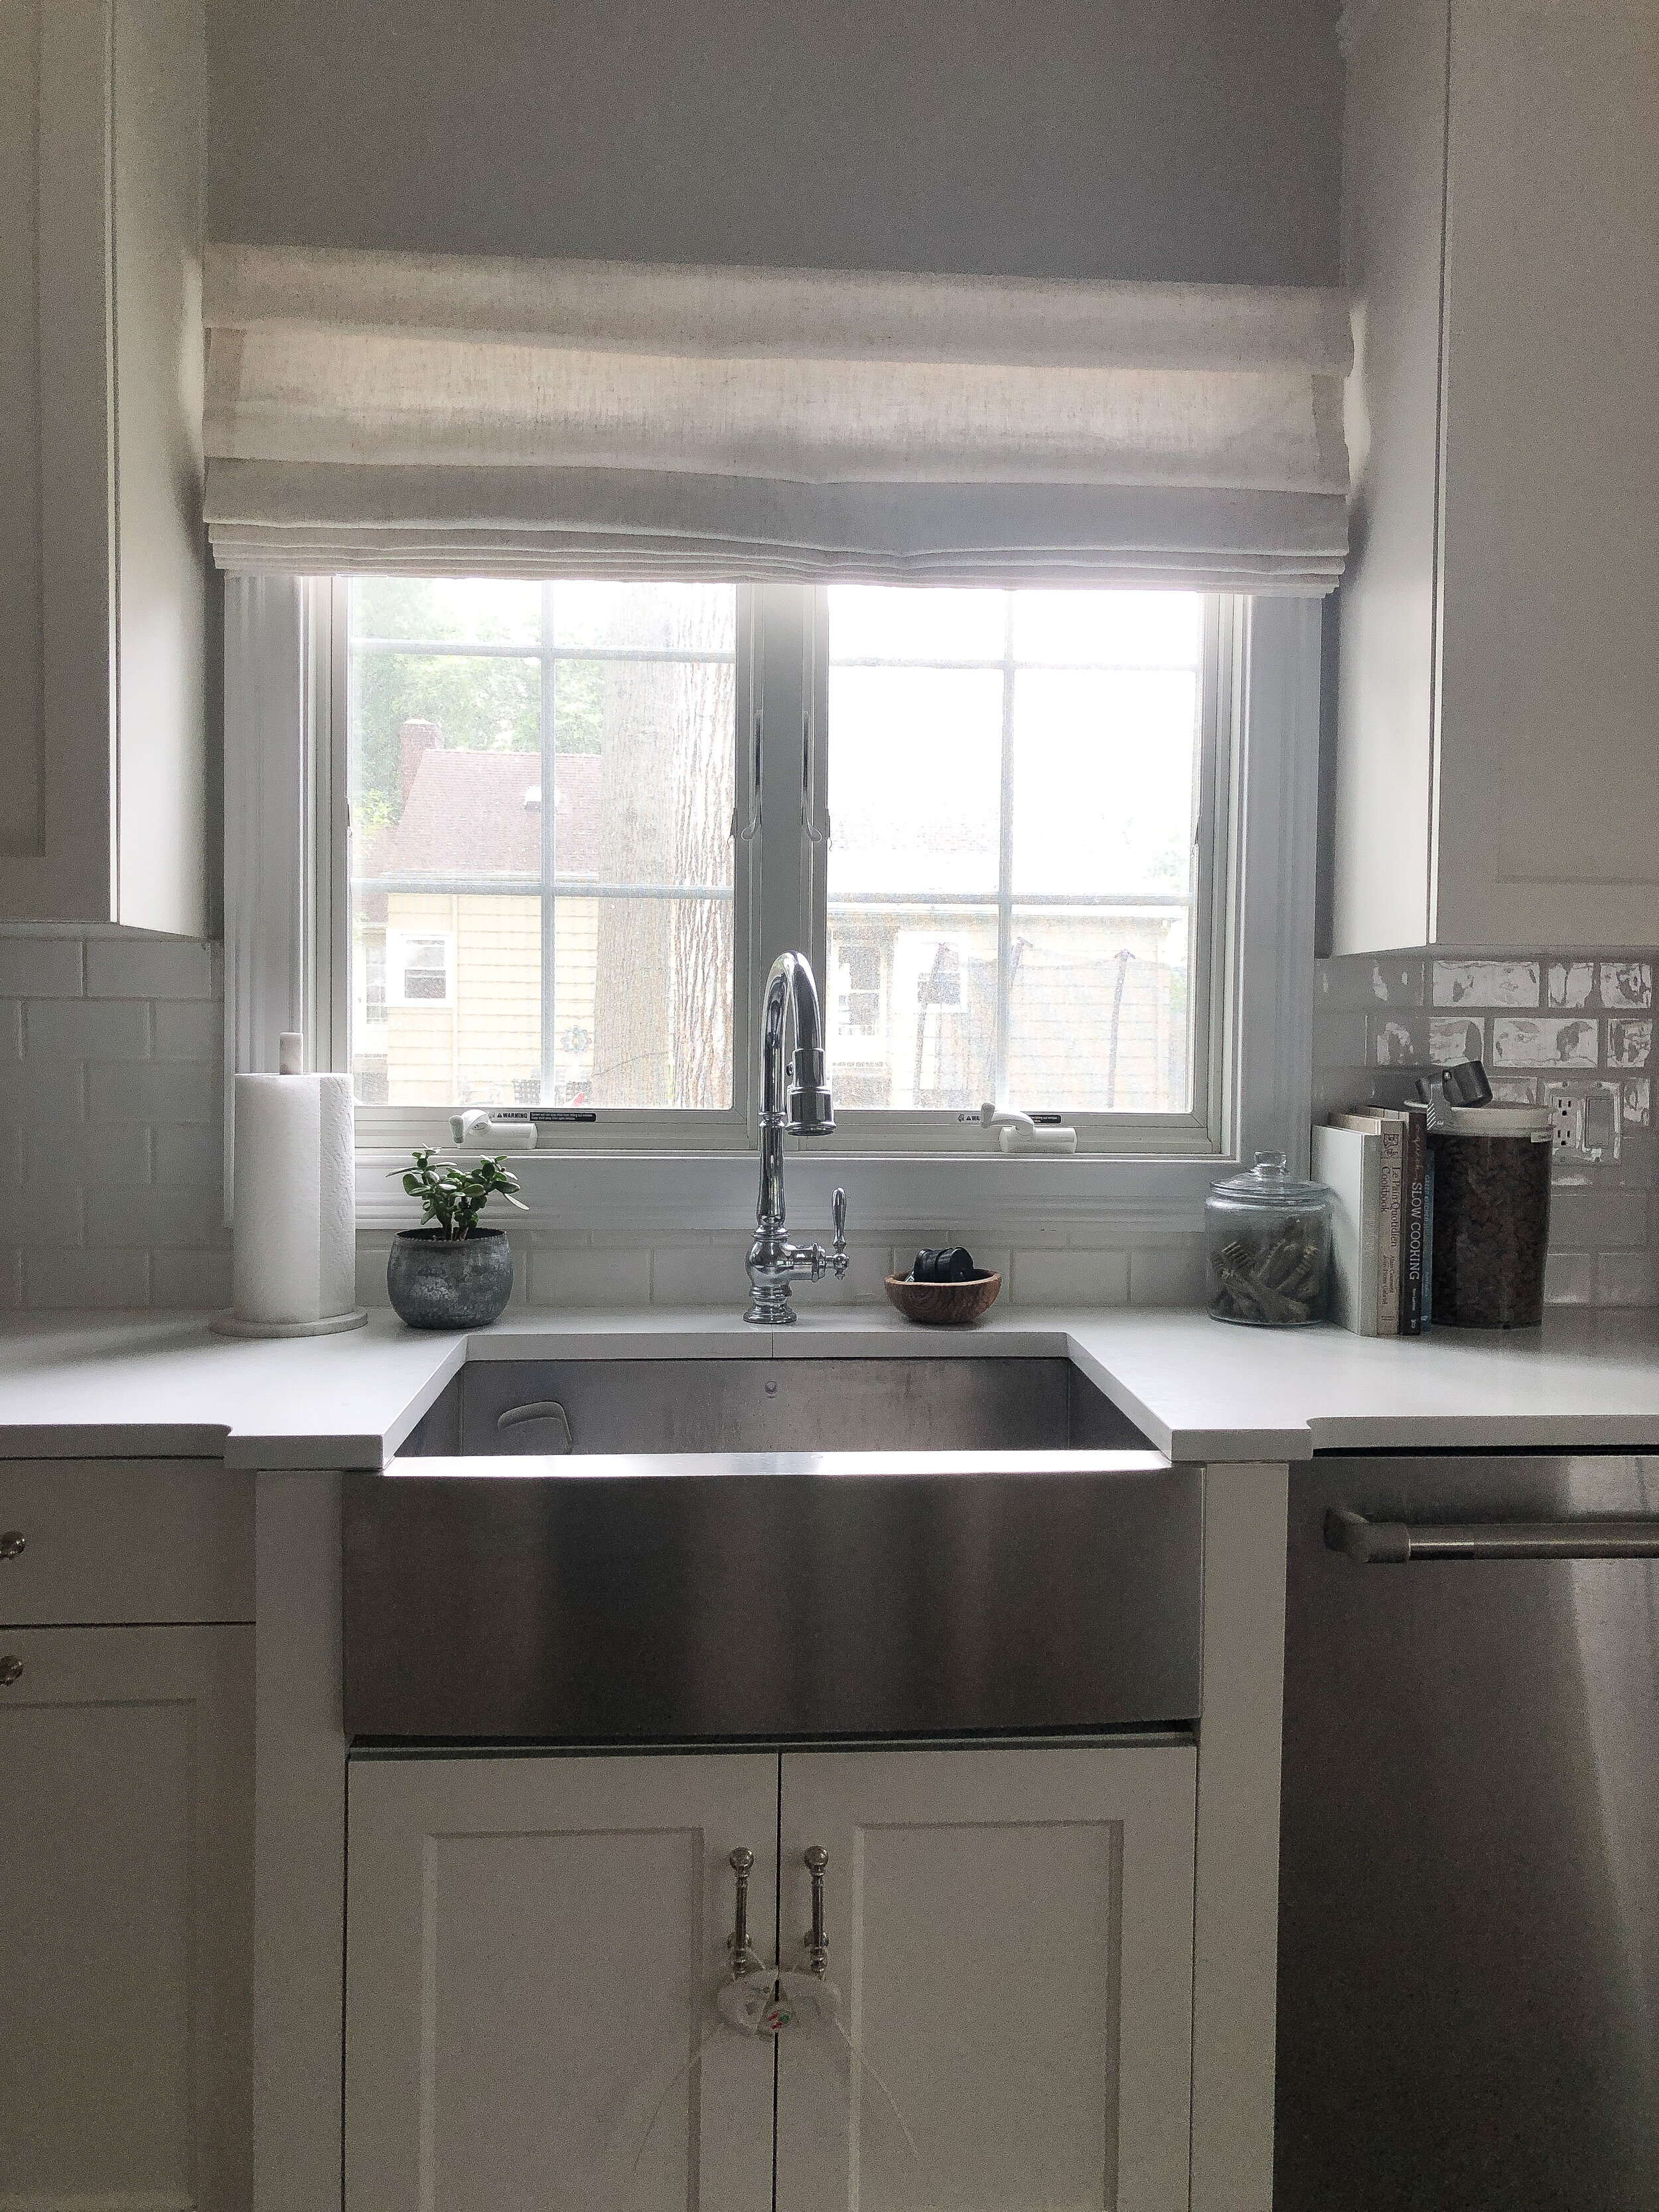
In addition to our dining nook, I also added the same Classic Roman Shade in the “White Linen” to our kitchen window. The only difference between the two is that our dining nook shade is mounted inside the window frame and the kitchen window shade is mounted above the frame. The reason for this is because our kitchen window is not as deep so there wasn’t enough space to mount on the inside (sorry in advance for the bad photo that follows — the lighting over this window is always off).

I do like both looks but slightly prefer the shades mounted inside the frame. But you can take a look at both photos to see which look best suits you and measure accordingly!
Install took about 20 minutes (sorry I didn’t get any photos of this part) and wasn’t difficult. The shades are shipped with all of the hardware you’ll need, along with simple-to-follow instructions.
One last thing: I’m excited to share that the kind folks at Select Blinds have offered you guys a discount on their already affordable blinds and shades so feel free to shop through this LINK and use code HUDSON5 for an additional 5% off any window treatment of your choice through the end of the month!
Scroll for more photos and message me with any questions or comments below!