
How to Install Peel-and-Stick Wallpaper.
How to install wallpaper is probably one of the top questions that I receive on a daily basis. There are different techniques for each material and installing traditional, pre-pasted, and peel-and-stick wallpaper is all very different. Today, I’ll share how I install peel-and-stick wallpaper, which I believe to be a fairly simple DIY that anyone can do!

The first step to installing wallpaper of any kind is to measure your space. You want to measure the full length and width of the wall(s) that you plan to paper. Once you have these measurements, I like to add 3’’ to both the top and bottom, and another 3’’ for the width of each wall.
You want these extra inches because you’re never going to line up the wallpaper with your ceiling or crown molding (more on that later). You want a little wiggle room and to ensure that you have enough paper to span the full length of the wall. Once you have your measurements, order the paper of your choice and if you’re slightly over a roll size, round up. It’s never fun to begin a project only to realize you have to order more wallpaper half-way through.
Now for the tools you’ll need! Lucky for you, there’s no paste required for peel-and-stick wallpaper application. You only need is the following:
A level ruler (for marking a plumb (straight) line down your wall
A wallpaper smoother (for smoothing out air bubbles and pressing the wallpaper to the wall)
An x-acto knife (for trimming the excess wallpaper once on the wall, and for cutting tight corners)
Extra blades (you might want to change your blade once or twice during install; a sharp blade is so important!!)
Scissors (for trimming sections of the wallpaper, if necessary).
A tape measure (to measure the width of your first panel on the wall)
These are the exact tools that I use. Order them when you order your wallpaper so you’re ready to go!

Most wallpaper companies will number each wallpaper roll if there’s a repeat pattern so you know which order to install the rolls in. The first thing I do is to open up every roll and to lay them down side-by-side in the correct order.
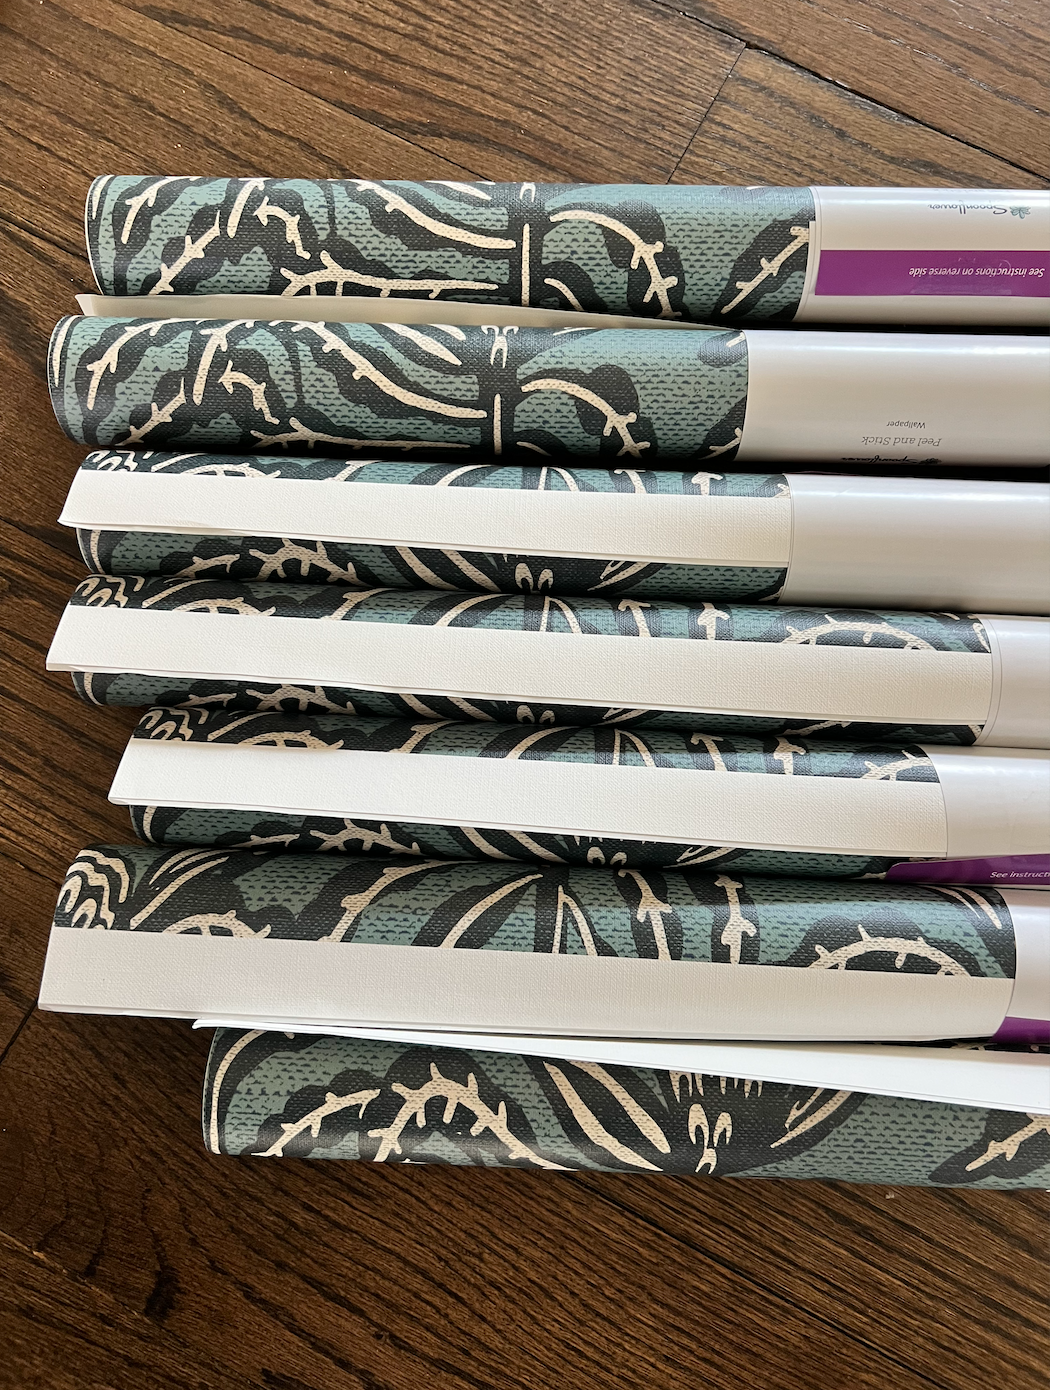
Open your box of wallpaper and line up each roll in order (they should be numbered at the bottom!) to ensure you’re matching the pattern repeat correctly.
Next, unroll your first roll and use your tape measure to measure the width of the panel. Most peel-and-stick wallpaper panels are 24’’ wide but sometimes it varies by brand so it’s important to measure.

Unroll your first roll of wallpaper and use your measuring tape to measure the width of the panel.
Start on the left side of your first wall and make a mark at 24’’ from the corner (or the width that your wallpaper is). Then grab your level ruler and draw a light line in pencil down the length of the wall about 2-3’’ inside that first mark that you made. Here’s why you’re doing this: Walls in any home (even a new build) are rarely level. Meaning they aren’t straight! If you line your wallpaper panel against the ceiling or the corner of your wall, it’s going to be crooked. This is why it’s so important to add those extra inches when measuring for your wallpaper.
You’re going to want to place your line your first panel of wallpaper up against the plumb line that you drew so that it wraps around the corner of the wall about 2-3 inches. This will ensure that your wallpaper panel is perfectly straight on the wall and that it covers the full length of the wall.

Use a level ruler to lightly draw a plumb line down the length of your wall. You’ll use this line to line up your first panel of wallpaper.
Once you’re happy with the placement of your first panel, grab your wallpaper smoother and firmly press it down and out, smoothing the wallpaper onto the wall. It’s important to press the smoother across the full panel so all of the wallpaper adheres to the wall and any air bubbles are pressed out.
After your first panel is on the wall, pick up your x-acto knife and while using your smoother as a guide, trim off any excess wallpaper from the top, bottom, and corner of the wall. That’s it! The first panel is the hardest part because it involves measuring and ensuring that the panel is perfectly straight. The next panels will be much easier for you because you’re simply lining them up against your first panel.

Spend the time to line up each panel so your pattern flows and you don’t see where one panel starts and another ends. Use the wallpaper smoother to press each panel to the wall and smooth out any air bubbles, and then trim excess from the top and bottom of each panel with your x-acto knife. If your knife begins to feel dull or isn’t cutting as easily after a few panels, swap in a new blade. A sharp blade is key to a clean cut (a dull blade can potentially tear the paper).
Continue throughout the room until you’re done! I posted a little reel showing the process (sped up a bit) on Instagram earlier today.
One important thing to note: Some wallpaper brands require you to slightly overlap each panel to ensure that the pattern matches, while others require you to line up the panels side-by-side. Before peeling off the backing of the paper, hold your second panel up against your first to see how the pattern lines up.

And that’s it! I promise this is a project that anyone can do with just a little bit of patience and peel-and-stick is a great “first wallpaper” to try. I’m linking all of our mudroom sources below!